
How To Install Architectural Shingles in 9 Steps Like An Expert
 1.12.24
 10 minutes read
Are you planning an upgrade for your home’s roof? Whether you’re building a new house or giving an older one a much-needed facelift, choosing to install architectural shingles is a great decision. Known for their superior durability, dimensional look, and longevity, these premium shingles are a fantastic investment. However, the process of a new roof installation—especially for a complex material like this—can feel overwhelming. If you are wondering “how to install architectural shingles”, this post is for you!
This guide is designed to walk you through every step of a successful installation, breaking down a challenging project into manageable, actionable instructions. We’ll show you exactly how to install architectural shingles, from proper roof preparation to the finishing touches. Our goal is to empower you with the knowledge needed to confidently complete the job, ensuring your new roof is both beautiful and built to last.
Why Choose Architectural Shingles?
Before we dive into this blog’s topic, which is how to install architectural shingles, let’s briefly discuss why these shingles, particularly GAF architectural shingles, are an excellent choice for your roof:
Durability
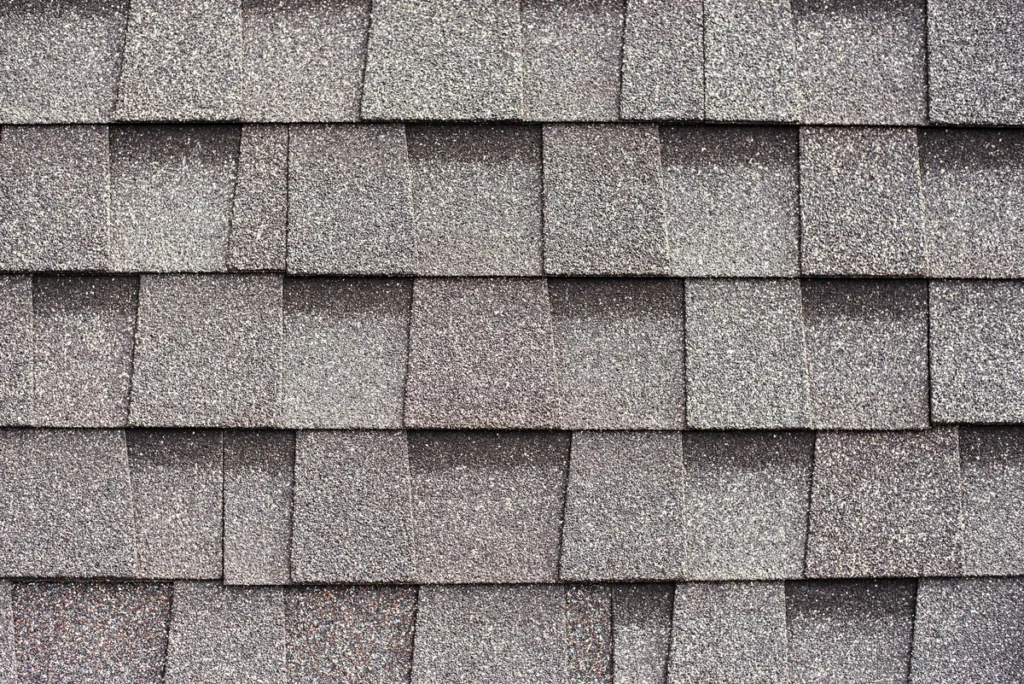
Let’s start with the obvious: architectural shingles are thicker and more robust than traditional three-tab shingles, making them superior at withstanding harsh weather conditions, such as heavy rain, strong winds, and hail. Their construction allows them to resist impacts better, ensuring your roof remains intact and secure over time. This durability not only protects your home but also reduces the need for frequent repairs. Many roofing companies recommend these shingles for their long-lasting benefits.
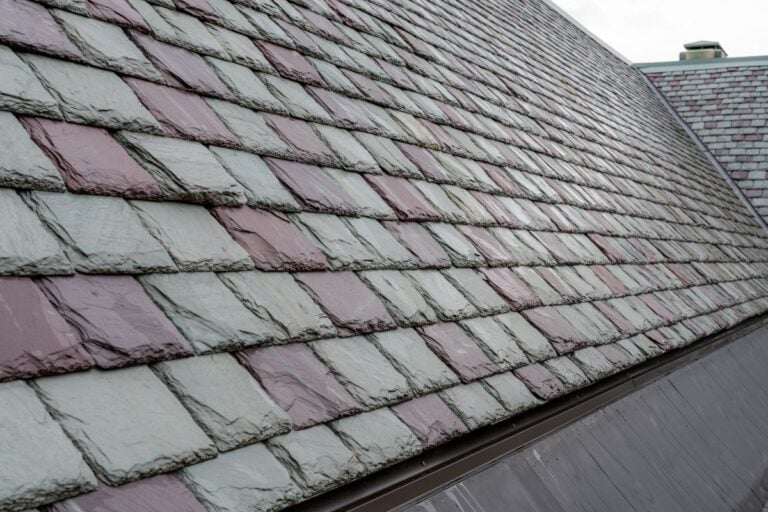
Aesthetics
Available in a wide range of colors and styles, architectural shingles allow homeowners to choose a look that complements their home’s architecture beautifully. Whether you prefer a classic look or a modern twist, these shingles can enhance your home’s curb appeal, giving it a distinctive charm that stands out in the neighborhood. Consulting with roofing professionals can help you select the perfect design.
Longevity
In most cases, what leads you to think about “how to install architectural shingles” is that you are planning a roof renovation due to some significant changes in your house, such as improvements to enhance durability. Architectural shingles typically boast a longer lifespan, since they are one of the durable roofing materials available in the market. Often lasting 25 to 30 years or more with proper maintenance, architectural shingles will be the best allies you will have in your roof. Key benefits include:
- Longer lifespan compared to traditional roofing materials
- Durable and resistant to harsh weather conditions
- Enhanced aesthetics to elevate your home’s appearance
With the GAF warranty, you can enjoy peace of mind knowing your investment is protected for years to come, making it a smart choice for homeowners looking to maximize their roofing budget.
Energy Efficiency
Some architectural shingles, including GAF architectural shingles, are specifically designed to reflect sunlight, which can significantly reduce cooling costs in hot climates. By keeping your home cooler, these energy-efficient shingles contribute to a lower energy bill and a more comfortable living environment. Investing in these shingles not only benefits your wallet but also promotes a more sustainable lifestyle.
That’s why the “how to install architectural shingles” will take you to consider many aspects. And as you delve deeper into the answer, you will become more convinced that it is the best possible solution that will guarantee beauty and durability.
How to Install Architectural Shingles in 9 Easy Steps
In this guide, we’ll walk you through the process of installing architectural shingles with ease. Follow these 9 simple steps to answer the question “how to install architectural shingles” to achieve a professional-looking roof that enhances your home’s appearance and durability.
1. Gather Your Tools and Materials
Before you start to install roof shingles, make sure you have all the necessary tools and materials on hand. Here’s a list to help you get started:
- Architectural shingles: Ensure you have enough shingles to cover your roof, including a few extras for cuts and replacements.
- Underlayment: Most roofs require a layer of underlayment for added protection.
- Drip edge: Install a drip edge along the eaves and rakes of your roof to guide water into the gutter system.
- Roofing nails: Choose galvanized or stainless steel nails that are corrosion-resistant.
- Roofing felt or synthetic underlayment: This goes between the shingles and the roof sheathing.
- Roofing adhesive: Used to secure the shingle tabs.
- Safety gear: Don’t forget safety glasses, gloves, a dust mask, and a ladder.
2. Prepare Your Roof Surface

During the process of “how to install architectural shingles”, it’s crucial to prepare the roof surface properly:
Remove old shingles: Start by carefully removing the existing shingles, as they can create issues for your new roof. Use a roofing shovel to lift and pry them up gently to avoid damaging the underlying materials. Discard the old shingles responsibly, ensuring they are disposed of in accordance with local regulations.
Inspect the roof deck: Once the old shingles are removed, take the time to thoroughly inspect the roof deck for any signs of damage or rot. Look for soft spots, discoloration, or any structural issues that may need addressing. Repair any damaged areas to ensure a solid foundation for your new roofing materials, and make sure the surface is clean and smooth to promote proper adhesion.
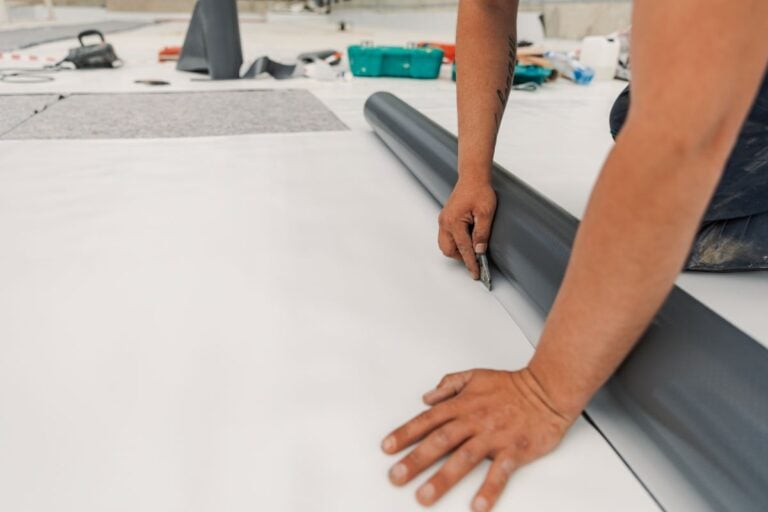
3. Install the Underlayment and Drip Edge
When you are thinking about the essential steps of how to install architectural shingles, then installing the underlayment and drip edge is one of them. An underlayment and drip edge of great quality with precise installation is essential for a watertight roof:
Underlayment: Begin by rolling out the underlayment starting from the eaves and working your way up to the ridge of the roof. It’s important to ensure that each row overlaps the previous one adequately, as this helps create a moisture barrier that protects the roof structure from leaks and water damage.
Drip edge: Install the drip edge along the eaves and rakes using roofing nails to secure it in place. The drip edge should extend slightly beyond the roof’s edge, which is crucial for directing rainwater away from the roof and preventing it from running back under the shingles, thereby enhancing the roof’s longevity.
4. Start at the Eaves
When laying architectural shingles, it’s best to start at the eaves of your roof:
Starter strip: Begin by installing a starter strip along the eaves of your roof. This crucial component provides a secure and level base for the first row of shingles, ensuring proper alignment and enhanced protection against wind and water intrusion.
Overhang: It’s important to allow the starter strip to overhang the eaves by approximately 1/4 to 3/8 inch. This slight overhang helps to direct water away from the roof and siding, preventing potential damage and promoting better drainage during rainfall.
5. Lay the Shingles
Answering the question of how to install architectural shingles is not as hard as it seems. In fact, here comes the fun part: laying the architectural shingles!
First row: Start by laying the first row of shingles along the eaves, ensuring they align perfectly with the overhanging starter strip. This foundational row is critical as it sets the tone for the entire roofing layout and ensures proper water runoff.
Staggered pattern: To enhance protection against leaks, offset the joints of adjacent shingles in a staggered pattern. This arrangement helps create a more effective barrier, reducing the risk of water infiltration and improving the overall durability of the roof.
Nail placement: When considering where to nail roof shingles, secure each shingle with four nails, positioning them just below the adhesive strip and near the edge. Proper nail placement is essential for stability and longevity; always adhere to the manufacturer’s guidelines to ensure optimal performance and warranty compliance.
6. Cut Shingles for Valleys and Hips
When you encounter valleys or hips on your roof, you’ll need to cut the shingles to fit. This is a crucial step when you want to ensure there are no leaks on the critical points of your roof, and, therefore, it’s always good to have in mind during the answering and doing of the question “how to install architectural shingles”:
Valleys: Install valley flashing to direct water runoff effectively. Cut shingles to match the valley’s shape, ensuring they overlap properly to form a watertight seal. This prevents water from seeping underneath, protecting the roof’s integrity.
Hips: For hips, carefully cut the shingles along the hip line to match the roof’s angle. Ensuring a smooth overlap is crucial, as it helps to channel water away from the roof and minimizes the risk of leaks. Proper installation contributes to both functionality and aesthetic appeal.
7. Install Ridge Cap Shingles
Once you’ve completed the main shingle installation, it’s time to tackle the ridge:
Ridge cap shingles: Begin by installing ridge cap shingles along the ridge line of the roof. Use a chalk line to ensure they are placed straight, which helps maintain a clean and professional appearance.
Nailing: Secure the ridge cap shingles using roofing nails, making sure to space them according to the manufacturer’s instructions. This ensures that the shingles are held firmly in place against wind and weather.
Overlapping: When placing each ridge cap shingle, overlap them properly to create a watertight seal. This overlapping technique prevents water from seeping underneath, protecting the roof structure from leaks.
8. Inspect and Clean Up
After completing the installation, it’s crucial to inspect your work and clean up the site:
- Check for loose nails: Walk the roof and check for any loose or improperly nailed shingles. Hammer in or replace any loose nails.
- Clean gutters and downspouts: Ensure that the gutters and downspouts are clear of any debris, so water can flow freely.
- Dispose of waste: Properly dispose of any leftover shingle pieces, packaging, and debris.
9. Maintenance and Care
After answering the question of “how to install architectural shingles” and you or a contractor have solved it, and your architectural shingles are in place, then there are some essential maintenance tips to keep in mind:
- Regular inspections: Periodically inspect your roof for any signs of damage, wear, or loose shingles.
- Clean gutters: Keep your gutters clear of debris to prevent water from backing up and potentially damaging your shingles.
- Trim overhanging branches: Trim tree branches that may fall onto your roof or cause excessive debris.
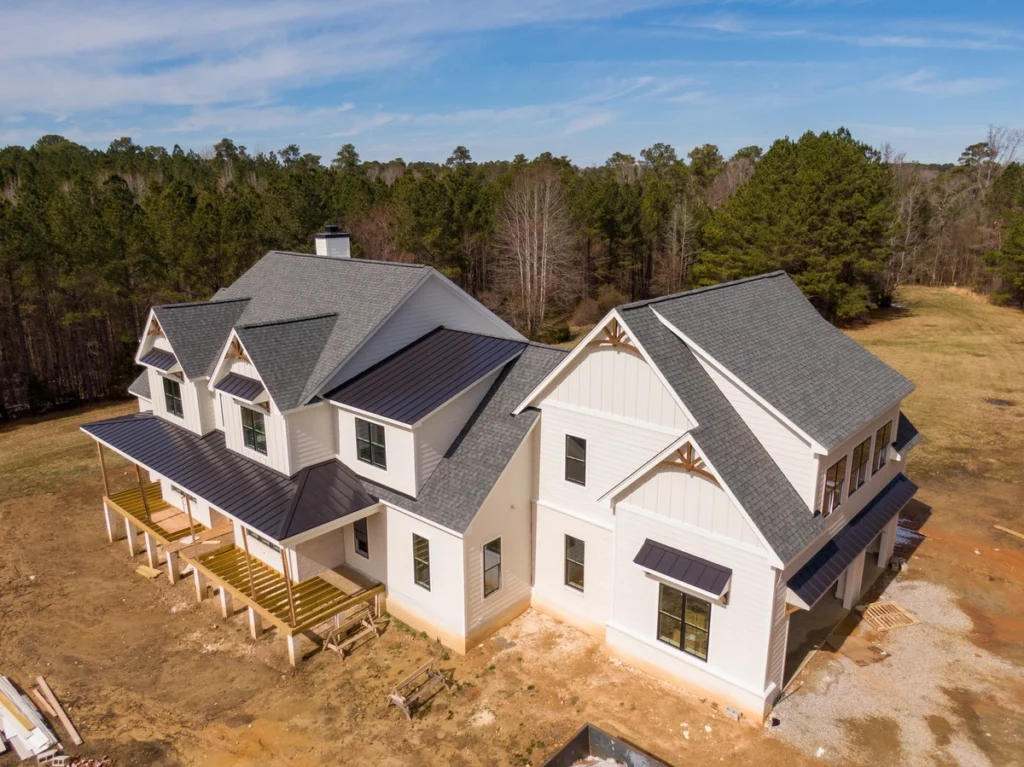
Boost Your Home’s Curb Appeal With Architectural Shingles
As you saw, the answer to the question “how to install architectural shingles” requires a lot of different steps with both precision and craftsmanship. Installing architectural shingles can be a rewarding DIY project that not only enhances the protection of your home but also boosts its curb appeal. By following these step-by-step instructions and ensuring proper preparation, you can achieve a professionally installed architectural shingle roof. Remember to prioritize safety throughout the process, and don’t hesitate to seek professional assistance if you encounter any challenges. Here’s to a beautiful and long-lasting roof that will keep your home safe and stylish for years to come!
Whether you are asking yourself questions like “how to install architectural shingles” or any other, you can contact our top-notch team of roofers at Kenneth Daniel Roofing today. We’re excited to learn about your vision for your next roofing project and help you bring it to life!
EXPLORE OUR RECENT ARTICLES
We’re Redefining Roofing. You In?
