
Where to Nail Shingles (7 Step Guide for a Proper Installation)
 10.30.25
 8 minutes read
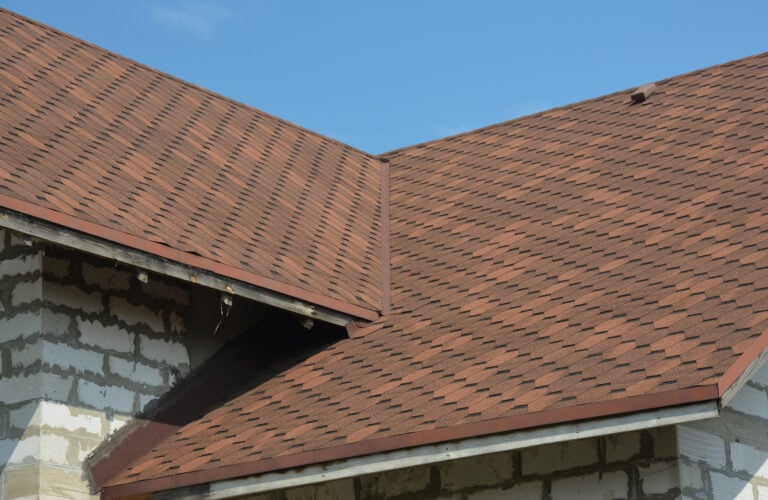
If you’re planning a roof repair or replacement in Midlothian, VA and surrounding areas, understanding where to nail shingles is one of the most important parts of getting a long-lasting, weather-resistant installation. It’s not just about attaching shingles securely—it’s about protecting your roof from leaks, wind damage, and premature wear. Even a small mistake in nail placement can lead to costly problems down the line.
Proper nailing ensures every shingle stays in place during heavy storms, maintains proper alignment, and performs as intended for decades. Whether you’re tackling a small DIY project or simply want to understand your contractor’s process, learning correct nailing techniques will help you recognize a job well done. For homeowners who prefer a professional touch, you can learn more about expert roofing installation and repair services designed to guarantee durability and precision.
Here’s what you’ll learn in this guide:
- Why correct nail placement is essential for roof performance
- The materials and tools you’ll need for shingle installation
- A detailed, step-by-step guide for where and how to nail shingles
- Common nailing mistakes to avoid
- How to identify poor nailing in an existing roof
Why Proper Shingle Nailing Matters
Every shingle on your roof plays a vital role in protecting your home from rain, wind, and temperature changes. The nails that hold those shingles in place are equally critical—too few, too many, or misaligned nails can quickly compromise your entire roof.
Here are a few key reasons nail placement matters:
- Prevents Wind Uplift: Correctly positioned nails help resist strong winds that can lift or tear shingles off your roof.
- Reduces Leaks: Improper nailing can leave tiny openings for water to seep under the shingles, leading to moisture damage and rot.
- Preserves Manufacturer Warranty: Many roofing manufacturers require specific nailing patterns and placements to keep warranties valid.
- Improves Roof Longevity: Secure shingles resist shifting, cracking, or curling, allowing the roof to last longer and perform better.
- Enhances Appearance: Consistent nailing ensures even alignment, contributing to a clean, professional look across your entire roof.
For homeowners in Midlothian, VA and surrounding areas, where summer storms and high winds are common, following proper nailing techniques is essential to maintaining your home’s protection and curb appeal.
7 Steps for Proper Shingle Nailing
Installing shingles the right way takes attention to detail. The following steps break down exactly where and how to nail each shingle for a secure, long-lasting roof.
1. Gather the Right Tools and Materials
Before starting, make sure you have the correct supplies to ensure a safe and precise installation.
You’ll need:
- Roofing nails (galvanized or stainless steel)
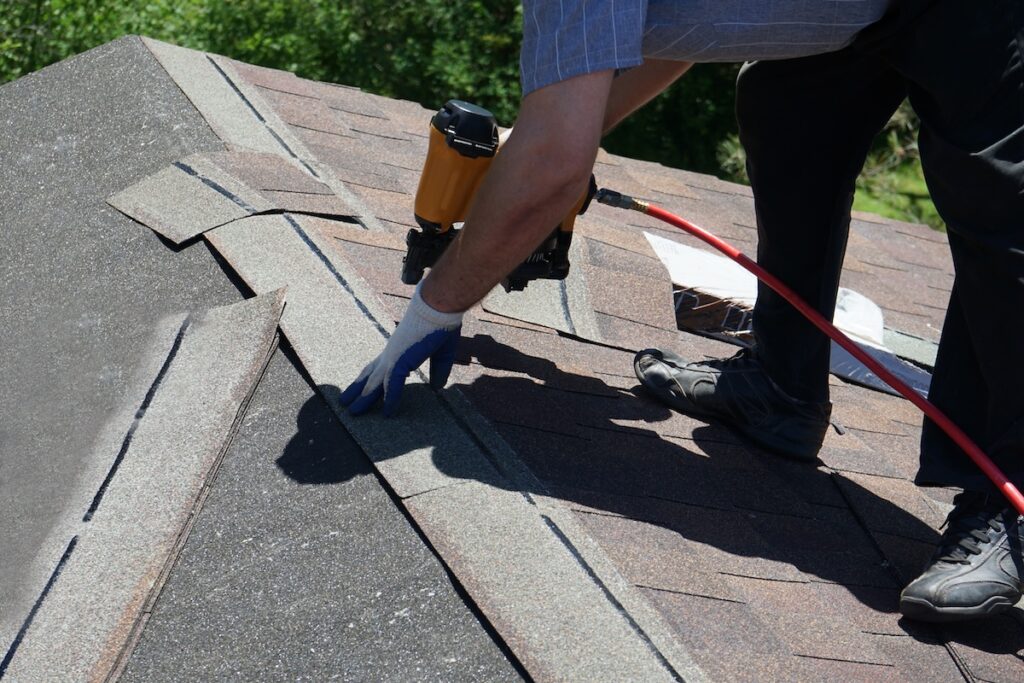
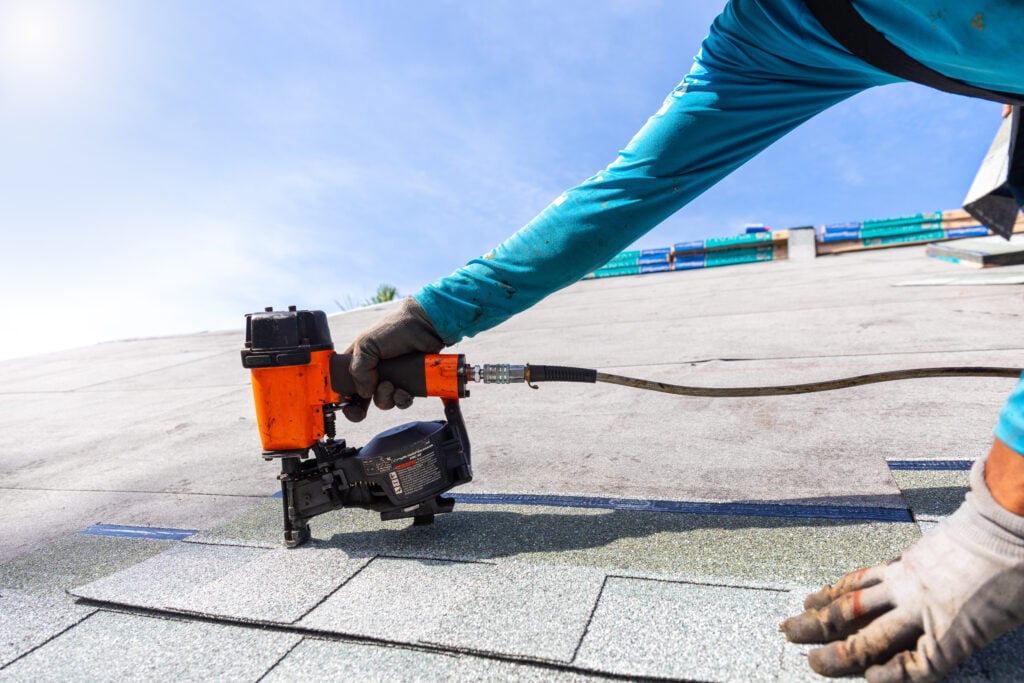
- Roofing hammer or pneumatic nail gun
- Chalk line for alignment
- Utility knife or shingle cutter
- Safety gear (gloves, non-slip shoes, harness if necessary)
Pro Tip: Always use nails designed for asphalt shingles—typically 1¼ to 1½ inches long, with a 3/8-inch head. Galvanized nails prevent rust and corrosion, extending your roof’s life.
2. Understand the Shingle’s Nail Zone
Most asphalt shingles include a nailing strip, also known as the nail line or tar line, marked across the top section of each shingle. This is the manufacturer’s recommended area for nail placement.
- This zone is specifically reinforced to hold nails securely without tearing.
- Nails placed too high can miss the underlying shingle layer, reducing hold.
- Nails too low can lead to exposure or water infiltration.
Following the manufacturer’s printed guide ensures you nail in the correct zone every time.
3. Start with the Starter Strip
Every roof installation begins with a starter strip along the eaves. This first layer of shingles helps align the roof system and prevent water from seeping under the first row.
- Position your starter strip flush with the edge of the roof.
- Nail along the adhesive strip, keeping nails about 1 inch from each edge.
- Space nails evenly, typically every 10 to 12 inches.
The starter layer sets the tone for the rest of the roof’s alignment, so take your time to get it perfectly straight.
4. Position the First Course of Shingles
Lay your first full row of shingles directly on top of the starter strip, ensuring it overhangs the drip edge by about ¼ to ½ inch. This overhang helps guide water into the gutters and prevents moisture buildup on fascia boards.
- Align the bottom edges carefully before securing them.
- Use a chalk line to maintain straight rows across the roof.
- Ensure the adhesive strip on each shingle aligns properly with the one below it.
5. Nail Each Shingle Correctly
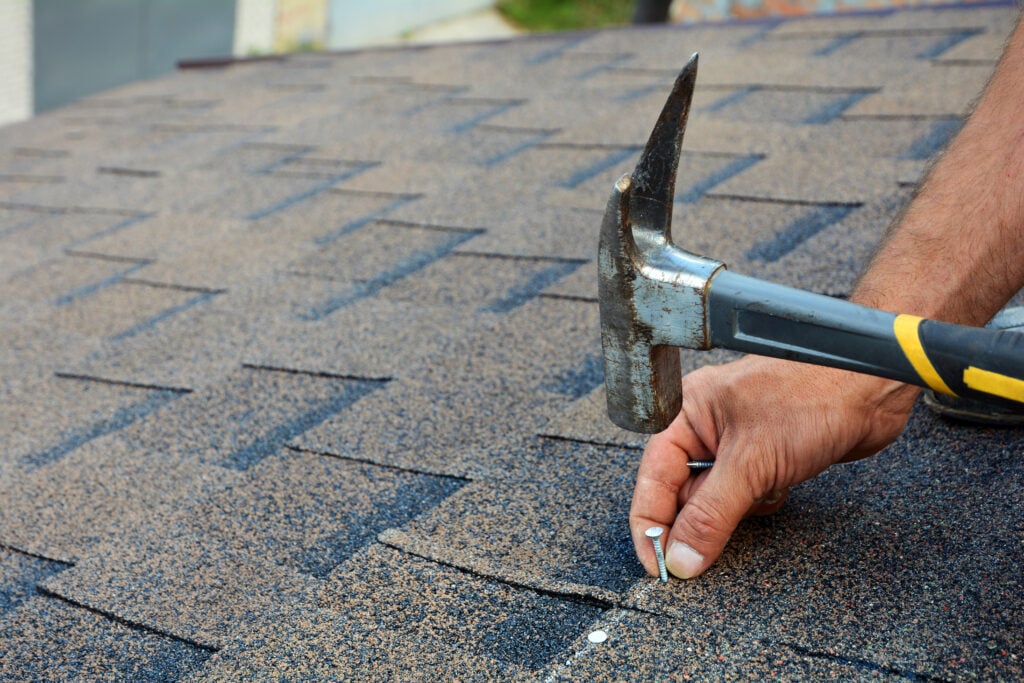
Now it’s time for the most critical step—nailing the shingles themselves. The goal is to secure each piece firmly without damaging the material.
Placement Guidelines:
- Drive four nails per standard shingle (five or six in high-wind areas).
- Place nails 1 inch in from each end of the shingle and directly on the nailing strip.
- Nails should penetrate both the top layer of the current shingle and the underlying one for maximum hold.
- Avoid overdriving—nails should sit flush with the shingle surface, not sunk into it.
Avoid:
- High nailing (above the nail line)
- Angled or slanted nails
- Loose nails that don’t fully grip the deck
For roofs in Midlothian, VA and surrounding areas, using six nails per shingle is recommended due to frequent wind events.
6. Overlap and Continue Upward
As you move up the roof, each new shingle row should overlap the one below it by about half its height. This overlapping pattern ensures a watertight seal and distributes weight evenly.
- Use the shingle’s self-sealing adhesive strip to bond rows together.
- Stagger vertical seams so they don’t line up across rows.
- Continue this process up the entire roof slope until you reach the ridge.
Proper overlapping is key to preventing water infiltration and maintaining a uniform appearance.
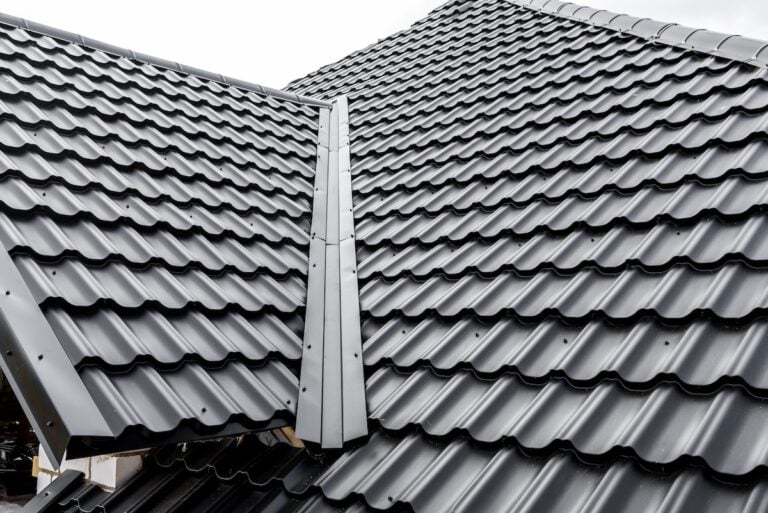
7. Finish with Ridge Cap Shingles
The final step is installing ridge cap shingles along the roof’s peak. These are designed to protect the ridge line from leaks while providing a polished finish.
- Center each ridge cap over the peak, overlapping the previous one by about 5 inches.
- Nail about 1 inch up from the edge on each side of the ridge.
- Seal the final cap with roofing adhesive for added protection.
Once completed, your roof should have clean lines, strong adhesion, and consistent nail placement across every row.
Common Nailing Mistakes to Avoid
Even experienced DIYers make errors that can compromise the roof’s performance. Avoiding these mistakes will save time, money, and future repair headaches.
Nailing Too High or Too Low
Nailing above the designated line reduces holding power, while low nailing can expose the fastener to weather. Always follow the shingle’s printed guidelines for the correct nailing zone.
Overdriving Nails
When nails are driven too deep, they cut through the shingle and weaken its hold. Adjust your nail gun’s pressure or hand-drive carefully to keep nails flush.
Misaligned Nails
Uneven nail rows or misplaced fasteners create weak points that allow wind to lift shingles. Use a chalk line to maintain alignment while nailing for a better visual.
Using the Wrong Nails
Non-galvanized or undersized nails corrode quickly, leading to loose shingles and water damage. Always choose corrosion-resistant nails rated for roofing.
Insufficient Nails Per Shingle
Using fewer nails than required can void your roof’s warranty. Four nails per shingle is the minimum, but six is recommended for added strength.
Choosing the Right Nail Type for Your Roof
Not all nails are created equal. The right nail depends on your shingle type, local climate, and roofing deck material.
Common Roofing Nail Types:
- Galvanized Steel Nails: Coated to resist rust and ideal for most asphalt shingles.
- Stainless Steel Nails: Best for coastal or humid environments.
- Copper Nails: Used for premium materials like slate or tile.
- Electro-Galvanized Nails: Economical but less corrosion-resistant—best for short-term use.
Nail Shank Options:
- Smooth Shank: Easiest to drive, suitable for standard roofs.
- Ring Shank: Provides extra holding power for wind-prone regions.
For humid climates like Midlothian, VA and surrounding areas, ring shank galvanized or stainless steel nails offer the most reliable protection.
Comparing Hand Nailing vs. Nail Gun Installation
Both methods have pros and cons depending on your experience level and the size of your roofing project.
| Method | Advantages | Disadvantages |
| Hand Nailing | Greater control, ideal for small sections | Slower, more labor-intensive |
| Nail Gun | Fast and efficient for large roofs | Requires proper pressure control to avoid overdriving |
Professional roofers often use pneumatic nailers for speed and consistency, but hand nailing remains a trusted technique for precision work on smaller or complex sections.
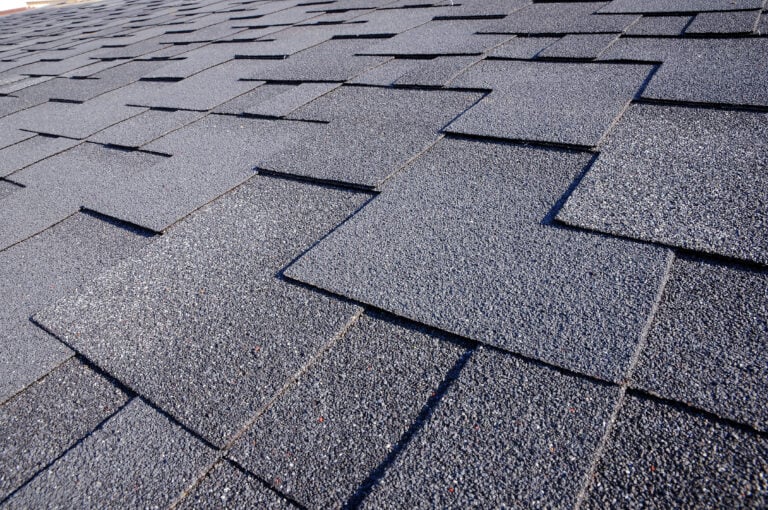
Inspecting Nail Placement After Installation
Once your roof is installed, it’s worth double-checking the workmanship—especially if you hired a contractor. Properly nailed shingles will:
- Sit flat with no visible nails on exposed surfaces
- Have even rows and consistent spacing
- Show no sign of lifted or curling edges
If you see exposed nails, lifted shingles, or irregular spacing, schedule an inspection to ensure the roof’s long-term durability.
Secure Roofing Starts with Proper Nailing
Knowing where and how to nail shingles correctly is one of the most important parts of building a strong, long-lasting roof. Precision in nail placement ensures that your shingles stay secure through every storm and season.
For homeowners in Midlothian, VA and surrounding areas, professional installation ensures that every nail is placed with care, every row is aligned perfectly, and every shingle performs exactly as it should. If you’re planning a roof replacement or want an expert to assess your existing installation, contact us today at Kenneth Daniel Roofing to schedule a professional inspection. Our team takes pride in delivering quality craftsmanship that keeps your home protected year after year.
EXPLORE OUR RECENT ARTICLES
We’re Redefining Roofing. You In?
