
What Are Starter Shingles? (Homeowner’s Roofing Guide)
 10.23.25
 9 minutes read
When it comes to protecting your home from the elements, your roofing system is more than just the shingles you see on top. Beneath the surface lies a carefully layered structure that ensures your roof performs effectively for decades. One of the most overlooked but essential parts of this system is the starter shingles. Many homeowners in Rocky Mount, NC and surrounding areas don’t realize how critical these specialized shingles are to preventing leaks, securing the roof’s edges, and improving the overall look of their home.
Whether you’re replacing your roof or learning how each component works, understanding starter shingles gives you a clearer picture of what makes a high-quality roofing installation. If you’re planning a roof replacement or repair, explore professional roofing solutions that ensure every layer of your roof—starter strip included—is installed for lasting performance.
Here’s what you’ll learn in this guide:
- What starter shingles are and how they function
- Why they’re a key part of a complete roofing system
- How they’re installed and how they differ from regular shingles
- Common mistakes to avoid during installation
- How to ensure your roof has proper starter protection
- Signs your starter shingles may need replacement
- How professional roofers ensure proper installation
Why Starter Shingles Matter
At first glance, starter shingles may not look like much—they’re often hidden from view once the roof is finished. However, their role is fundamental to the roof’s strength, longevity, and weather resistance. Without them, even the highest-quality shingles could fail prematurely.
Here’s why this specialized roofing layer is so important:
- Waterproofing Protection: Starter shingles create a watertight seal along the roof’s eaves and rakes, preventing rain or melting snow from seeping under the edges.
- Wind Resistance: They provide an additional adhesive layer that helps the first course of shingles stay firmly attached, protecting against strong gusts.
- Improved Alignment: Starter shingles establish a clean, straight edge for the rest of the shingles to align properly, ensuring a neat, professional appearance.
- Extended Roof Lifespan: By reinforcing the most vulnerable areas of your roof, starter shingles help prevent early deterioration.
- Enhanced Warranty Coverage: Many manufacturers require starter shingles for the roof to qualify for extended warranty protection.
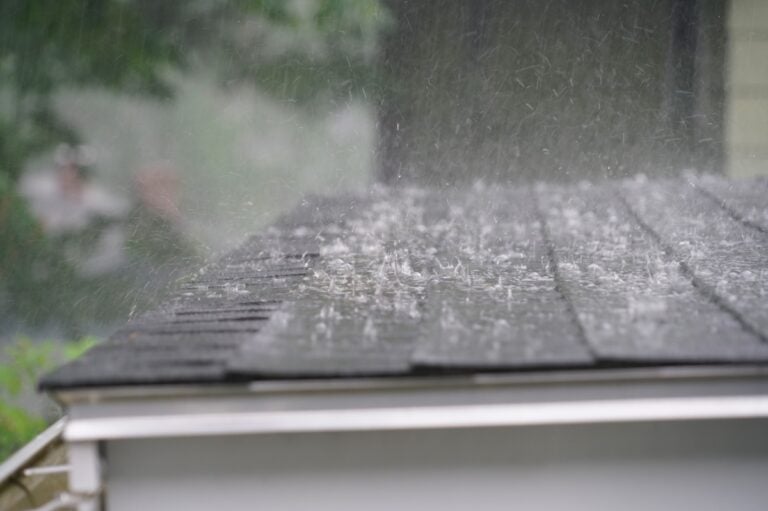
For homeowners in Rocky Mount, NC and surrounding areas, where roofs face seasonal storms, wind, and heavy rainfall, this small detail can make a big difference in long-term protection.
7 Key Components of Starter Shingles and Their Purpose
To fully understand what starter shingles do, it helps to break down their main components and the function each one serves in a complete roofing system.
1. The Sealant Strip
Every starter shingle includes a sealant strip—a line of high-strength adhesive designed to bond tightly to the first layer of standard shingles above it.
- This adhesive helps secure the shingle edge, minimizing wind uplift.
- Once activated by sunlight, it strengthens the roof’s resistance to extreme weather.
- It also reduces the risk of shingle blow-offs, one of the leading causes of early roof failure.
2. The Underlying Base Material
Starter shingles are made from the same durable asphalt material as your roof shingles, ensuring consistent protection and appearance. The base layer helps distribute weight evenly and creates a sturdy foundation for subsequent layers.
- Common materials include fiberglass-reinforced asphalt and architectural-grade asphalt.
- This base layer must align perfectly with the roof deck to prevent water intrusion.
3. The Factory-Cut Edge
Unlike regular shingles, starter shingles are pre-cut to provide a clean, straight edge at the roofline. This eliminates uneven gaps and enhances visual uniformity.
- Factory precision ensures faster, cleaner installation.
- It helps maintain straight alignment for the first row of shingles.
4. The Overhang and Drip Edge
Proper installation includes a slight overhang beyond the drip edge—typically about a half inch—to direct water into the gutters rather than behind them.
- Prevents rot or mold growth along fascia boards.
- Protects your roof decking from moisture buildup.
5. The Compatibility with Roof Design
Different types of roofs require different starter shingles. For example, some are designed for laminated architectural shingles, while others match three-tab asphalt roofs. Matching the right starter to your roofing material ensures full coverage and aesthetic consistency.
6. Nail Placement Zones
Starter shingles are marked with precise nail zones to ensure strong attachment to the roof deck without piercing the sealant strip.
- Proper nailing prevents uplift during high winds.
- It also minimizes the risk of shingle cracking over time.
7. The Protective Coating
Some premium starter shingles include UV-resistant coatings that protect against long-term fading and brittleness, especially in sunny climates like Rocky Mount, NC and surrounding areas.
- This layer adds an extra level of protection against heat degradation.
- It helps maintain flexibility and appearance for decades.
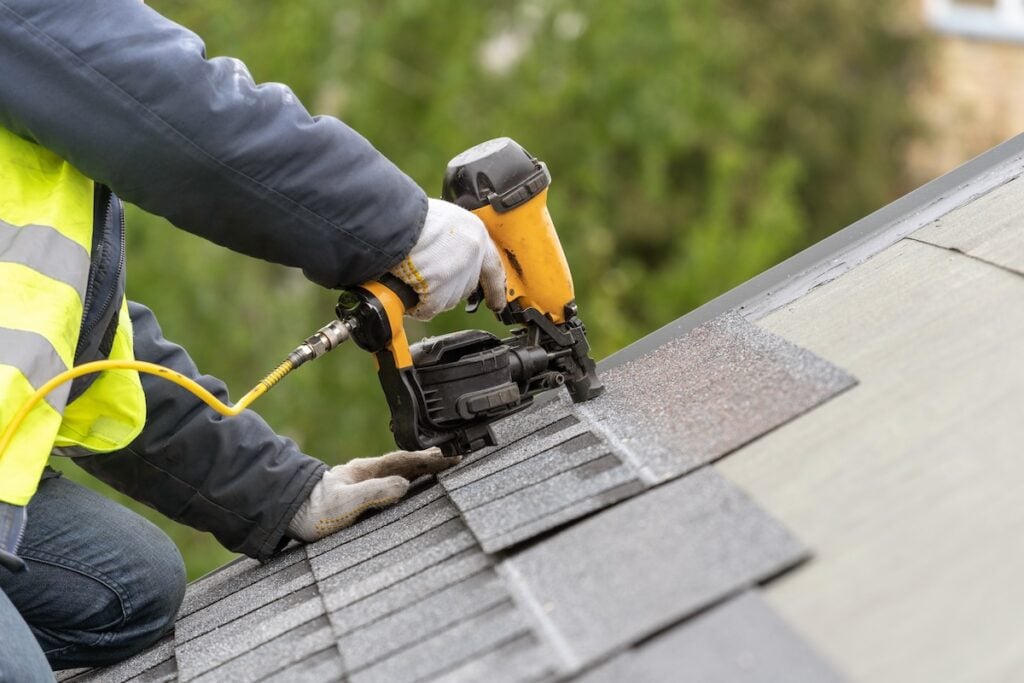
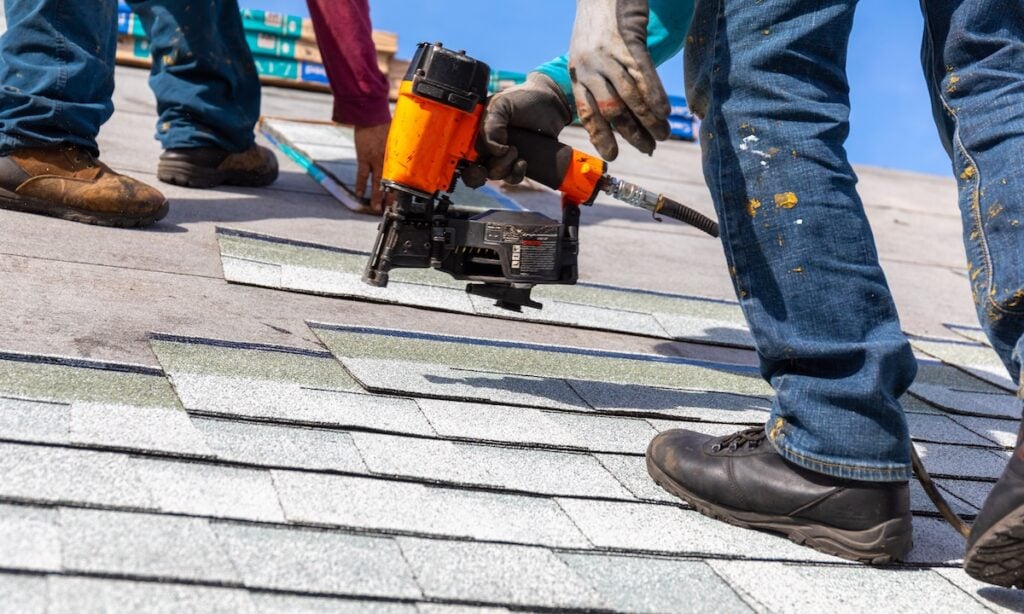
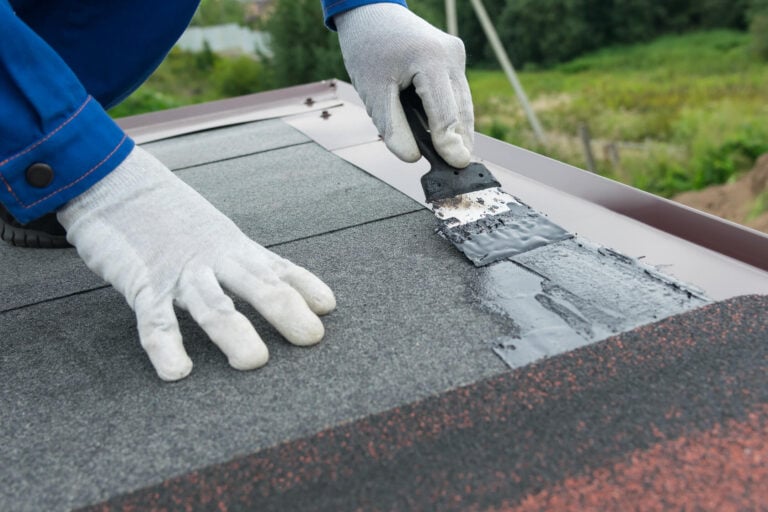
How Starter Shingles Are Installed
Installing starter shingles correctly requires attention to detail. Every step matters, as improper placement can compromise the roof’s defense against wind and water. Below is a simplified version of the installation process used by professional roofing contractors.
1. Prepare the Roof Deck
Before installation begins, the old roofing material is removed, and the deck is inspected for damage or rot. Then, an underlayment or ice-and-water barrier is applied for added protection.
- This underlayment acts as a secondary moisture barrier.
- Clean, dry surfaces are essential for strong adhesion.
2. Apply Starter Shingles at the Eaves
The first layer of starter shingles is installed along the eaves—the bottom edge of the roof where water naturally flows.
- Starter shingles should overhang the roof edge slightly.
- The sealant strip should face upward to bond with the next layer of shingles.
This layer prevents wind-driven rain from penetrating beneath the first row of shingles.
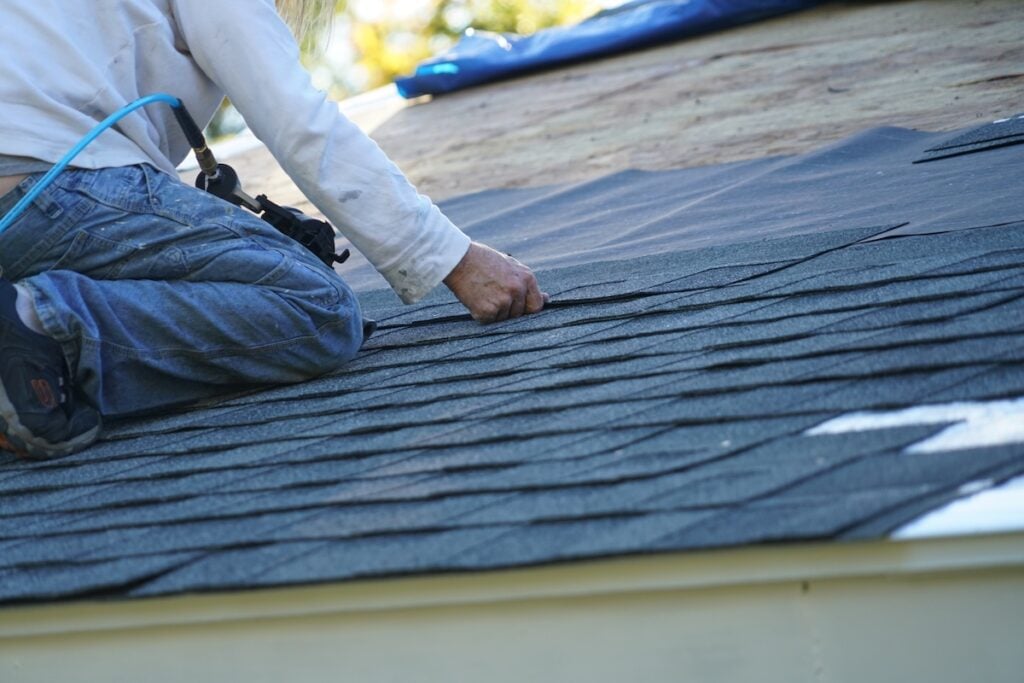
3. Continue Along the Rakes (Side Edges)
Next, starter shingles are installed along the roof’s rakes (the angled sides). This provides added protection against wind and moisture entering from the sides.
- The starter shingles along the rake should be aligned flush with the eave starters.
- Overlapping sections should be trimmed cleanly for a seamless appearance.
4. Install the First Course of Main Shingles
Once the starter layer is complete, roofers lay the first full row of regular shingles directly above it. The adhesive strip from the starter shingles bonds tightly with the base of this layer, ensuring a solid connection.
5. Secure and Inspect
After installation, the roof is checked for proper sealing, alignment, and overhang. This final step guarantees the starter shingles are performing as designed before the rest of the roof is installed.
Professional roofers in Rocky Mount, NC and surrounding areas follow these precise steps to ensure maximum performance and lasting weather protection.
Signs Your Starter Shingles May Need Replacement
Even though starter shingles are hidden, they can deteriorate over time or be damaged during storms. Here’s how to tell if they might need replacement.
- Water Leaks Along Eaves: Moisture seeping into the attic or interior walls near the roofline often indicates starter shingle failure.
- Visible Edge Curling: The first row of shingles curling upward can mean the adhesive seal is no longer holding.
- Wind Damage or Shingle Loss: Missing shingles near the edges often point to starter strip failure.
- Mold or Rot on Fascia Boards: This can occur when water bypasses the protective starter shingle layer.
- Age and Wear: Roofs older than 20 years may have degraded starter strips that no longer perform effectively.
If you notice any of these issues, a professional inspection can determine whether a repair or full replacement is necessary.
Common Misconceptions About Starter Shingles
Despite their importance, starter shingles are often misunderstood—or worse, skipped entirely. Let’s clarify some of the most common misconceptions homeowners encounter.
“You Can Just Flip a Regular Shingle”
While some DIY installers try to cut and flip regular shingles to use as starters, this approach is not recommended. Starter shingles are engineered with specific adhesive placement and edge design for proper bonding. Using standard shingles can lead to leaks and voided warranties.
“They’re Optional”
Starter shingles are not decorative—they’re a critical component of a complete roofing system. Without them, the eaves and rakes remain vulnerable to moisture intrusion and wind damage.
“All Starter Shingles Are the Same”
There are different types designed for various shingle styles, such as three-tab, architectural, or laminated shingles. Using the wrong type can lead to misalignment and compromised sealing.
“You Won’t Notice a Difference”
While you can’t see starter shingles once the roof is complete, their performance is evident during the first heavy rainfall or storm. Proper installation ensures water flows correctly into the gutters, not beneath the shingles.
Comparing Starter Shingles and Regular Shingles
To highlight how essential starter shingles are, here’s a quick comparison of how they differ from standard roof shingles:
| Feature | Starter Shingles | Regular Shingles |
| Purpose | Protect eaves and rakes, provide wind seal | Cover main roof surface for appearance and protection |
| Placement | First layer along edges | Installed across entire roof field |
| Adhesive Strip | Factory-applied along top edge | Typically along bottom edge |
| Edge Design | Straight cut for precise alignment | Decorative cutouts or shapes |
| Importance | Prevent leaks and uplift | Primary weather barrier and aesthetic layer |
Together, both components form the foundation of a secure and visually appealing roof.
Why Proper Installation by Professionals Matters
Even the best materials can fail if not installed correctly. Starter shingles require careful alignment, adhesive activation, and sealing to perform effectively. Working with certified roofing professionals ensures:
- Accurate installation that meets manufacturer specifications
- Compliance with warranty requirements
- Proper drip-edge placement and overhang for water management
- Long-term resistance to wind and moisture
Homeowners in Rocky Mount, NC and surrounding areas benefit from experienced roofers who understand local weather patterns and use top-quality materials suited for regional conditions.
A Small Detail That Makes a Big Difference
Starter shingles may not be visible once your roof is finished, but their role in protecting your home is vital. They provide the foundation for a watertight, wind-resistant roofing system that stands the test of time. Whether you’re replacing an older roof or building a new home, don’t overlook this critical component.
If you’re ready to upgrade your roof or want to ensure your current one was installed correctly, contact us today to schedule a professional inspection. Our team proudly serves Rocky Mount, NC and surrounding areas, offering expert guidance and top-quality roofing craftsmanship designed to protect your home for decades to come.
EXPLORE OUR RECENT ARTICLES
We’re Redefining Roofing. You In?
