
Why Your Roof Vent Leaks During Heavy Rain & How To Fix It
 3.14.25
 8 minutes read
A leaking roof vent during heavy rain can be more than just an annoyance—it can lead to water damage, mold growth, and costly repairs if left unaddressed. If you’ve noticed water dripping or staining around your roof vents during a storm, it’s time to act.
This article will help you understand why roof vent leaks during heavy rain occur, how to identify the problem, and—most importantly—what you can do to fix it. Here’s what we’ll cover:
- How to identify signs of a roof vent leak
- 5 Steps to fix leaky roof vents
- Tips to prevent future roof vent leaks
🔎 How to Identify Signs of a Roof Vent Leak

Catching a roof vent leak early can save you from costly repairs. Keep an eye out for these common signs:
- Water Stains: Discoloration or stains on your ceiling directly below the roof vent.
- Dripping Water: Visible water droplets around the vent or pooling nearby during or after a storm.
- Peeling Paint or Wallpaper: Moisture can cause paint to peel or bubble and wallpaper to pull away from the wall.
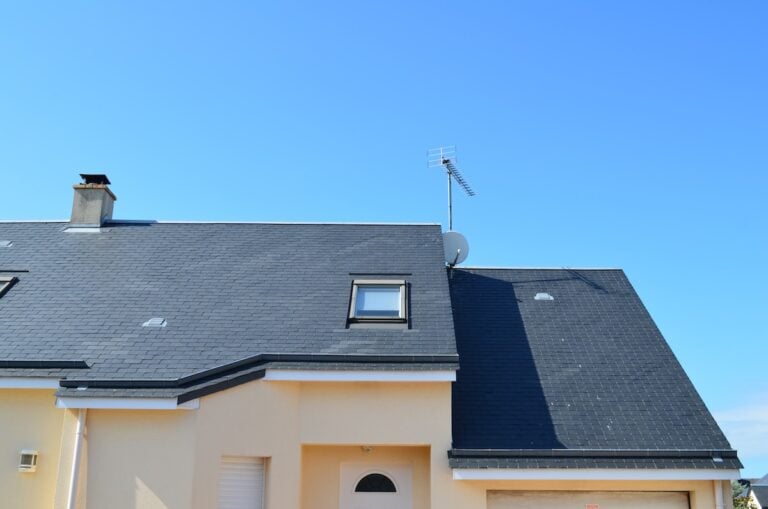
- Visible Damage: Check the vent and surrounding roof area for cracked flashing, loose shingles, or gaps.
- Musty Odors: Damp conditions can lead to mold growth, which often comes with an unpleasant smell.
✅ 5 Steps to Fix Leaky Roof Vents
Fixing a leaky roof vent doesn’t have to be overwhelming. Here’s a step-by-step guide to resolving the issue:
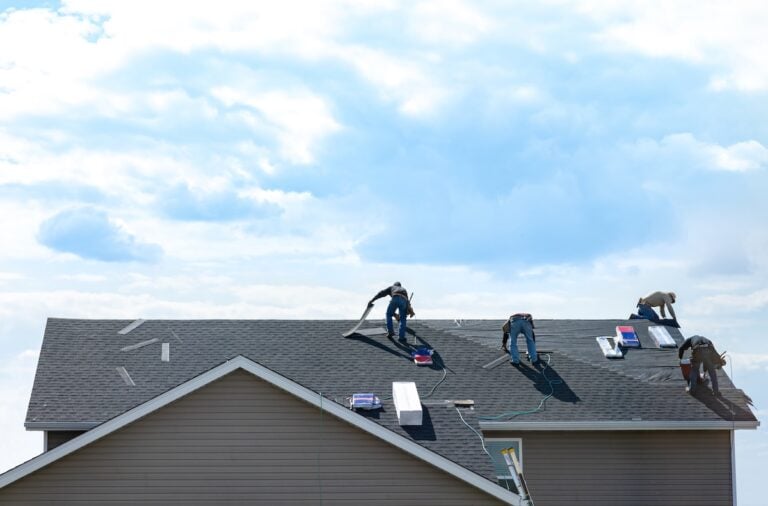
1. Inspect the Roof Vent and Surrounding Area
Safety first! Before you even consider climbing onto your roof, take a moment to gather the right tools and equipment. This includes a sturdy ladder, non-slip shoes, gloves, and a safety harness if needed. Ensure the ladder is placed on a flat, stable surface and have someone nearby to assist or spot you. Once you’re safely on the roof, start by carefully examining the roof vent and the area around it. Look for visible signs of damage, such as cracks in the material, loose or rusted flashing, or areas where the vent looks warped or improperly sealed. Pay attention to smaller details, like missing nails or screws, as these can also lead to leaks. Additionally, check for any debris such as leaves, dirt, or bird nests that may be clogging the vent or the surrounding area. Removing this debris is an important step as it could prevent proper airflow or even trap moisture, causing long-term damage. A thorough inspection will help you spot all problem areas and plan the necessary repairs effectively.
2. Remove Damaged Flashing
If the flashing around the vent is cracked, corroded, or appears loose, it needs to be replaced to maintain the integrity of your roof. Start by carefully removing the old flashing. Use a pry bar or a utility knife to lift and detach the flashing from the shingles and roof surface. As you do this, take extra care not to damage the underlying shingles, as any additional damage could lead to more leaks or costly repairs later. If the flashing is tightly adhered, work slowly to avoid tearing the roofing material. Examine the area beneath the flashing once it’s removed, ensuring there’s no hidden damage, such as rotted wood or moisture buildup. If you do find such issues, address them before installing new flashing. This step takes patience, so take your time to avoid causing further problems.
3. Clean the Surface
Before you can install any new materials, it’s crucial to properly prepare the area around the roof vent. Start by clearing away dirt, old caulking, and any remaining debris using a stiff brush, cloth, or scraper. If needed, use a mild cleaning solution to remove stubborn residue, but be sure to rinse it thoroughly and let the area dry completely. A smooth, clean surface is essential for ensuring the new flashing adheres properly and creates a watertight seal. Skipping this step or leaving debris behind could lead to improper sealing, which might allow water to seep through and cause leaks. Additionally, check for any surface irregularities, like raised nail heads or uneven shingles, and smooth them out if necessary. A clean and even surface will make the installation process more effective and durable.
4. Apply New Flashing and Sealant
With the surface cleaned and prepped, it’s time to install the new flashing. Position the flashing carefully around the base of the roof vent, making sure it fits snugly against the roof and provides full coverage of the area. Double-check that there are no gaps or misalignments, as these could compromise the seal. Use roofing nails to securely fasten the flashing in place, ensuring that each nail is driven in firmly but without damaging the surrounding roof materials. Once the flashing is installed, apply a high-quality roofing sealant around the edges. Be generous with the sealant to ensure a complete watertight seal, but also aim for a neat application to avoid excessive mess. Smooth out the sealant with a putty knife or similar tool to fill any gaps and enhance durability. Properly applied flashing and sealant are critical to preventing leaks and protecting your roof from water damage.
5. Check and Replace the Vent Cap
The vent cap plays an important role in keeping water, debris, and pests out of your roof vent, so it’s essential to inspect it thoroughly. Look for any cracks, warping, or other signs of wear and tear that could compromise its effectiveness. If you notice any damage, replace the cap with a new one that matches the size and specifications of your vent. When installing the new vent cap, make sure it fits securely over the vent and does not leave any open gaps where water or debris could enter. Use screws or fasteners to ensure it’s tightly locked in place. After installation, give it a quick test by pouring a small amount of water over the cap to check whether it effectively redirects the water away from the vent. A well-fitted vent cap is key to maintaining proper airflow while preventing future issues like water damage or pest infestations.
💡 Tips to Prevent Future Roof Vent Leaks

Once your roof vent is repaired, taking a few preventive measures can reduce the risk of leaks in the future:
1. Schedule Regular Roof Inspections
Your roof is your home’s first line of defense against the elements, so regular inspections are essential. Hire a professional to thoroughly inspect your roof at least once a year, ideally in the spring or fall. They can check for signs of damage, wear, or potential weak spots, such as cracked shingles, deteriorating flashing, or leaks. Identifying and addressing these issues early can save you time, money, and stress down the road, preventing costly repairs.
2. Clean and Maintain Roof Vents
Roof vents play a crucial role in regulating airflow and preventing moisture buildup in your attic, so keeping them clear is vital. Regularly remove debris such as leaves, dirt, and twigs from roof vents and gutters to avoid clogs. Clogged vents can lead to water buildup, mold growth, and even structural damage to your roof or home. Cleaning your roof vents and gutters at least twice a year will ensure proper ventilation and drainage, protecting your roof and extending its lifespan.
3. Reapply Sealant Periodically
Over time, the sealant around your roof vents can degrade due to exposure to sun, wind, and rain. Cracked or worn-out sealants can allow water to seep into your home, leading to leaks and water damage. To maintain a water-tight seal, plan to reapply roofing sealant every three to five years, or sooner if you notice any damage. Use a high-quality roofing sealant designed for your specific roof type to ensure long-lasting protection.
4. Upgrade to High-Quality Materials
Investing in premium materials can make a significant difference in the longevity and durability of your roof. Consider upgrading to weather-resistant materials like metal flashing, which is less prone to corrosion, and high-quality vent caps that can withstand extreme weather conditions. While these materials may require a higher upfront investment, they provide superior protection and can reduce ongoing maintenance costs, making them a smart long-term choice for your home.
5. Fix Leaks Quickly
Even a small roof leak can quickly escalate into a major problem if left unaddressed. Water can seep into your attic, causing mold, rot, and structural damage to your home. As soon as you notice any signs of a leak, such as water stains on ceilings or walls, act immediately. Contact a roofing professional to assess and repair the issue before it worsens, especially before heavy rain or snow. Prompt action can save you from more extensive repairs and keep your home safe and dry.
🏠 Roof Vent Leaks

At Kenneth Daniel Roofing, we understand how frustrating and damaging roof vent leaks during heavy rain can be. That’s why our team is dedicated to providing fast, reliable, and long-lasting solutions tailored to your specific needs. With years of expertise, top-quality materials, and a commitment to exceptional customer care, we’re the team you can trust to keep your home protected from the elements.
Don’t let a small leak become a big problem—contact Kenneth Daniel Roofing today for a thorough inspection and expert repair services. Call us now to schedule your consultation!
EXPLORE OUR RECENT ARTICLES

We’re Redefining Roofing. You In?
