
How to Install a Roof Vent Cap (Step By Step)
 2.19.25
 7 minutes read
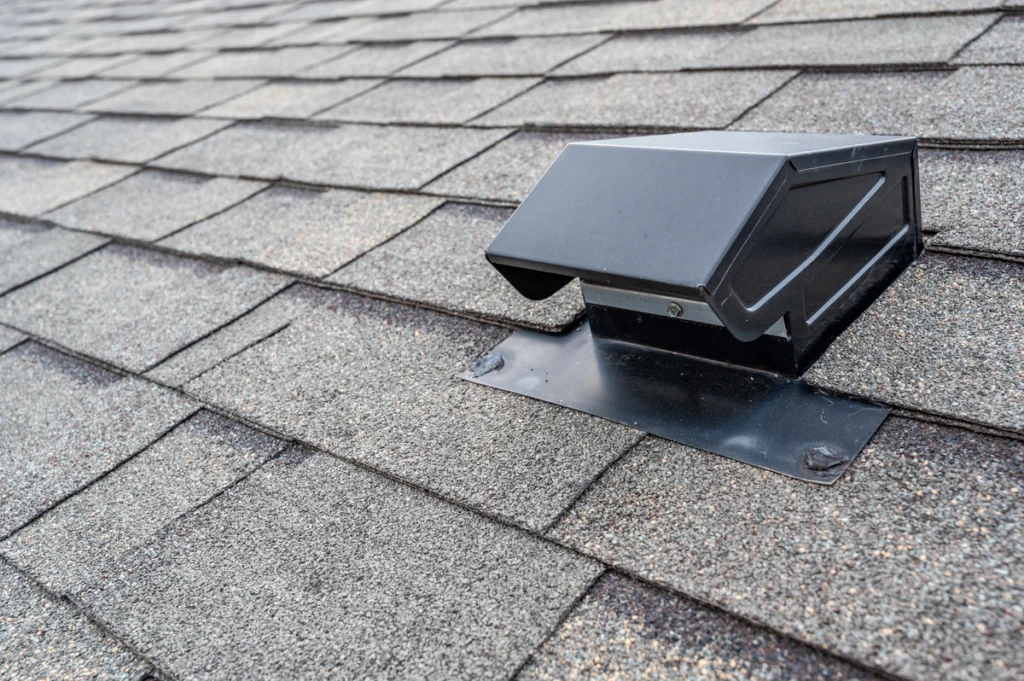
A well-ventilated roof is essential for maintaining the comfort, efficiency, and longevity of your home. One of the most important components of roof ventilation is a roof vent cap. This small yet vital fixture plays a crucial role in ensuring proper airflow while keeping out debris, water, and pests. Whether you’re a seasoned DIYer or a homeowner looking to save on installation costs, learning how to install a roof vent cap is a worthwhile skill. This guide will take you through exactly what you’ll learn:
- Why roof vent caps are important
- Step-by-step instructions for installation
- Tips for maintaining a roof vent cap
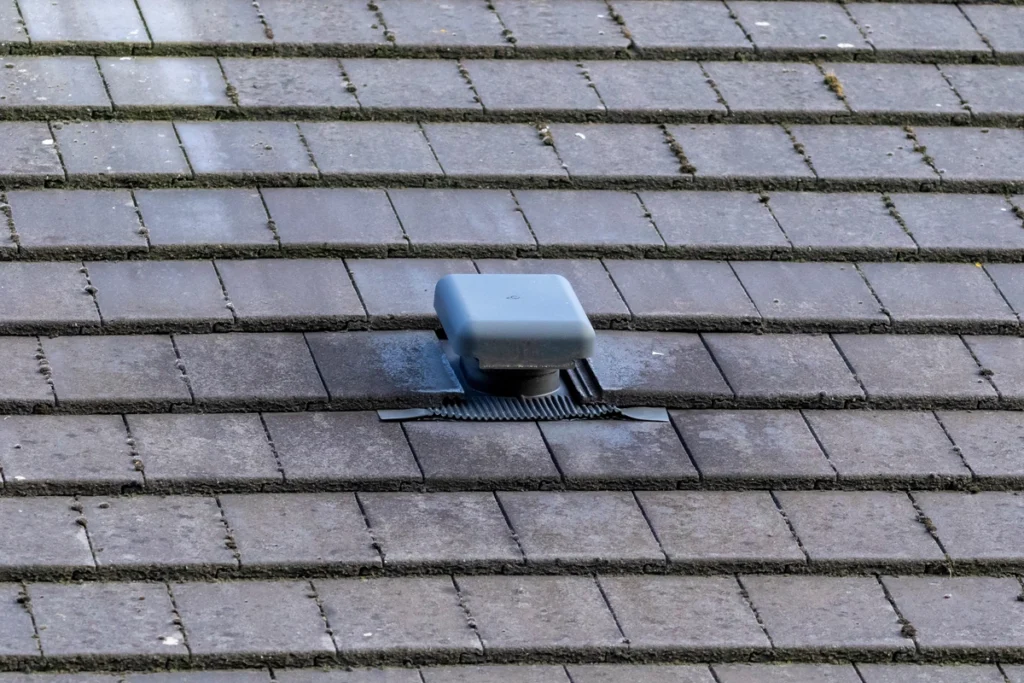
🤔 Why Are Roof Vent Caps Important?
Roof vent caps do more than just ventilate your home—they provide essential protection and improve overall functionality. One key benefit is their ability to prevent moisture buildup in your attic. Without proper ventilation, condensation can accumulate, leading to mold growth and long-term damage to your roof’s structure. By reducing this excess moisture, roof vent caps help maintain the integrity of your home and significantly extend the lifespan of your roof.
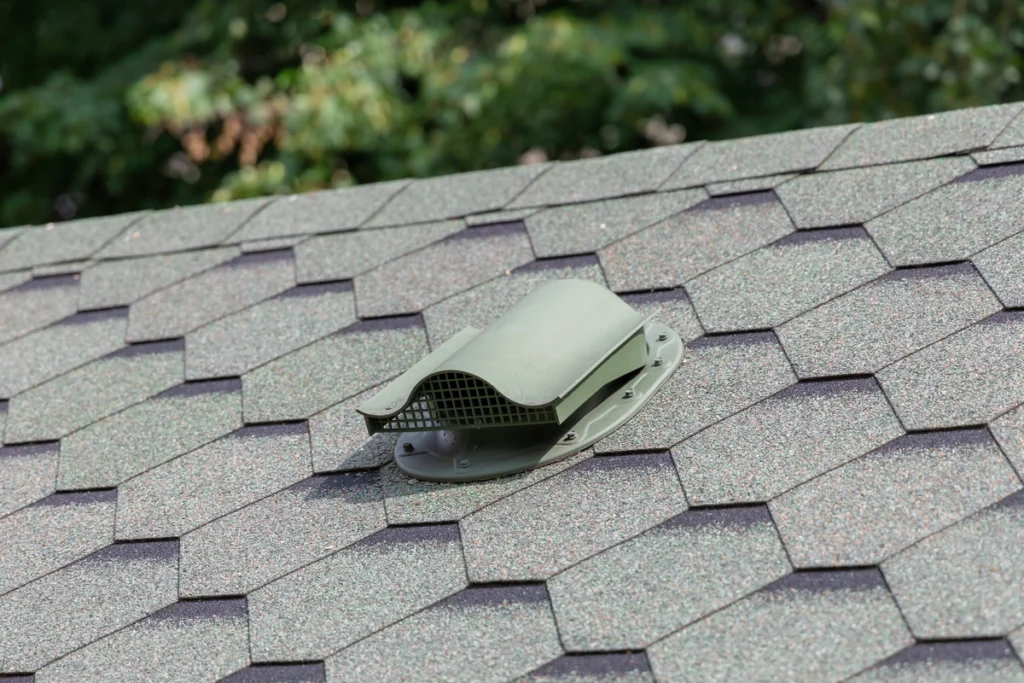
Another major advantage is temperature regulation. In the summer, roof vent caps minimize heat buildup in your attic, reducing the strain on your cooling systems and lowering energy bills. During winter, they help retain insulation by preventing warm air from escaping too quickly, keeping your home comfortable and energy-efficient year-round. Additionally, these caps act as a barrier against pests, debris, and water, ensuring that foreign elements stay out of your home. Whether you’re battling extreme weather or simply aiming for better indoor air quality, roof vent caps are a must-have for any homeowner.
Getting Started: Tools and Materials You’ll Need
- A roof vent cap (ensure the cap fits your vent size)
- Measuring tape
- A power drill
- Screws (compatible with your cap)
- A ladder
- Roofing sealant or caulk
- Screwdriver
- Safety gear (gloves, goggles, non-slip shoes)
✅ 6 Step Guide to Installing a Roof Vent Cap
Installing a roof vent cap might seem intimidating, but breaking it into manageable steps simplifies the process. Follow these six key steps:
1. Measure and Plan
Start by locating the vent opening with a measuring tape. If a vent pipe is already in place, verify its position to make sure it aligns perfectly with your requirements. Measure the opening carefully to determine the exact size. If the vent pipe does not yet exist, you’ll need to decide where to create a new vent opening, taking into account the layout of your building and the most efficient path for airflow. Once you’ve identified the location, double-check that your vent cap matches both the shape and size of the vent opening. A proper fit is crucial to ensure the vent functions efficiently and prevents leaks or other issues.
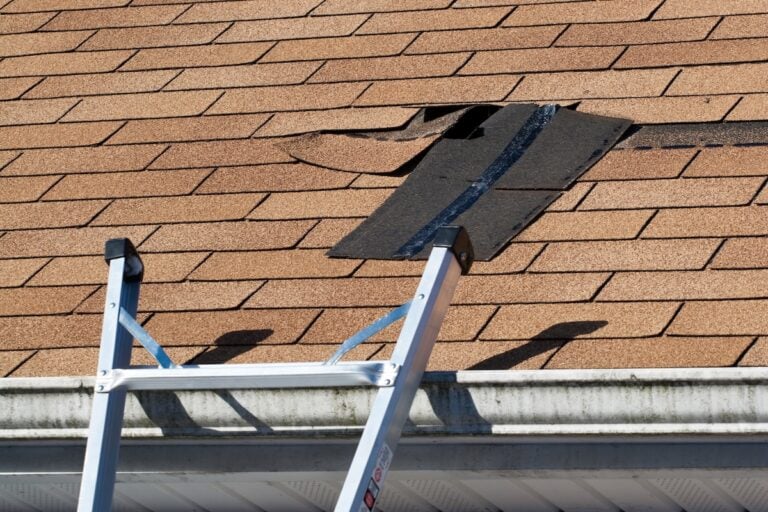
2. Prep Your Workspace
Safety first! Ensure you have a stable and sturdy ladder to safely access your workspace, especially if you’re working on the roof. Before beginning the installation, thoroughly inspect the vent area for any debris, dirt, or obstructions. Clear away leaves, dust, and any loose materials to create a clean surface for installation. This step is essential to ensure a tight, secure seal and avoid potential problems with leaks or improper airflow later. Take the time to double-check that all your tools and materials, such as screws, a drill, and sealant, are within easy reach before proceeding.
3. Position the Vent Cap
Carefully align the vent cap over the opening, ensuring it sits straight and flush against the surface. Double-check that there are no gaps between the cap and the vent opening, as even small gaps can lead to performance issues like air leakage or water infiltration. Take a moment to adjust the cap if necessary so that it fits snugly. A well-positioned vent cap is key to maintaining proper airflow, as well as protecting the vent from external elements such as rain, debris, or pests.
4. Secure the Cap
Once the vent cap is correctly positioned, it’s time to fasten it securely. Using a drill, insert screws into the pre-drilled holes along the rim of the vent cap. Make sure the screws are evenly spaced to distribute tension and secure the cap firmly. Be careful not to overtighten the screws, as this can crack or damage the cap or weaken its structural integrity. Tighten each screw just enough to hold the cap firmly in place without risking damage. If needed, double-check the tightness of the screws to ensure the cap is stable and won’t shift over time.
5. Seal the Edges
To ensure your installation is waterproof, apply a generous layer of roofing sealant around the edges of the vent cap. This step is crucial for preventing water from seeping into the structure during rain or snow. Use a gloved hand or a smoothing tool to evenly spread the sealant, paying close attention to any seams or potential weak spots. The goal is to create a smooth, continuous barrier that fully seals the edges. Take your time to inspect the sealant application, as any gaps or uneven areas could compromise the waterproofing and lead to future leaks.
6. Test the Vent
After installation, it’s important to inspect and test the vent to ensure everything is functioning properly. Begin by visually inspecting the vent cap to confirm it is securely fastened and properly sealed. Check for any signs of loose screws, gaps in the sealant, or misalignments. Once you’re satisfied with the visual inspection, run air through the vent to test its performance. This could involve turning on fans or ventilation systems connected to the vent. Confirm that airflow is smooth and unobstructed, and check that no air is leaking out around the edges of the cap. A successful test ensures your vent is ready to perform effectively and protect your home or system from external elements.
💡 Tips for Maintenance and Longevity
Once installed, maintaining your roof vent cap is just as important as the initial setup. Follow these tips to keep it in top shape:
Regular Cleaning
Keep your roof vent in top condition by regularly removing debris like leaves, dirt, or any buildup that could clog the cap. A clogged vent can restrict airflow and reduce efficiency, so make it a habit to clean it at least once a month or after a storm.
Check the Seal
Inspect the sealant around the vent regularly to ensure there are no gaps or cracks where water could seep through. If you notice any issues, reseal the area immediately to prevent leaks and potential water damage to your roof or home interior.
Inspect for Damage
Take time to check the vent for signs of damage, such as cracks, rust, or loose screws. Addressing small issues early can help you avoid costlier repairs or replacements down the road. If repairs are necessary, use weatherproof materials to ensure durability.
Schedule Roof Inspections
Hiring a professional for regular roof inspections ensures your roof and venting system remain in excellent condition all year. Professionals can spot problems you might miss and provide expert advice on maintaining or upgrading your system for maximum performance. Aim for an inspection at least once a year.
🏠 Roof Vent Caps
When it comes to installing or repairing a roof vent cap, you want a team you can trust to get the job done right. At Kenneth Daniel Roofing, our 10+ years of experience, transparent pricing, and dedication to quality make us the go-to choice for homeowners in North Carolina and Virginia. We handle every project with precision and care, ensuring your roof is in the best hands.
Ready to get started? Schedule your free inspection or consultation today. Let us help you protect and enhance your home with confidence!
EXPLORE OUR RECENT ARTICLES


We’re Redefining Roofing. You In?
