
How To Replace Missing Shingles On Roof? (6 Steps)
 3.12.25
 8 minutes read
If you’ve spotted missing shingles on roof, you’re not alone. Wind, storms, and general wear-and-tear can cause shingles to break loose over time. When left unresolved, missing shingles can lead to leaks, water damage, or compromise your home’s insulation. The good news? Replacing missing shingles is easier than you think, and in some cases, you can tackle it yourself with the right tools and safety measures.
This blog will guide you through understanding the importance of addressing this issue, the tools needed, and a step-by-step guide to replacing missing shingles. Here’s what we’ll cover:
- What causes shingles to go missing?
- 6 steps to replace missing shingles on a roof
- When to call a professional roofer
🤔 What Causes Shingles to Go Missing?
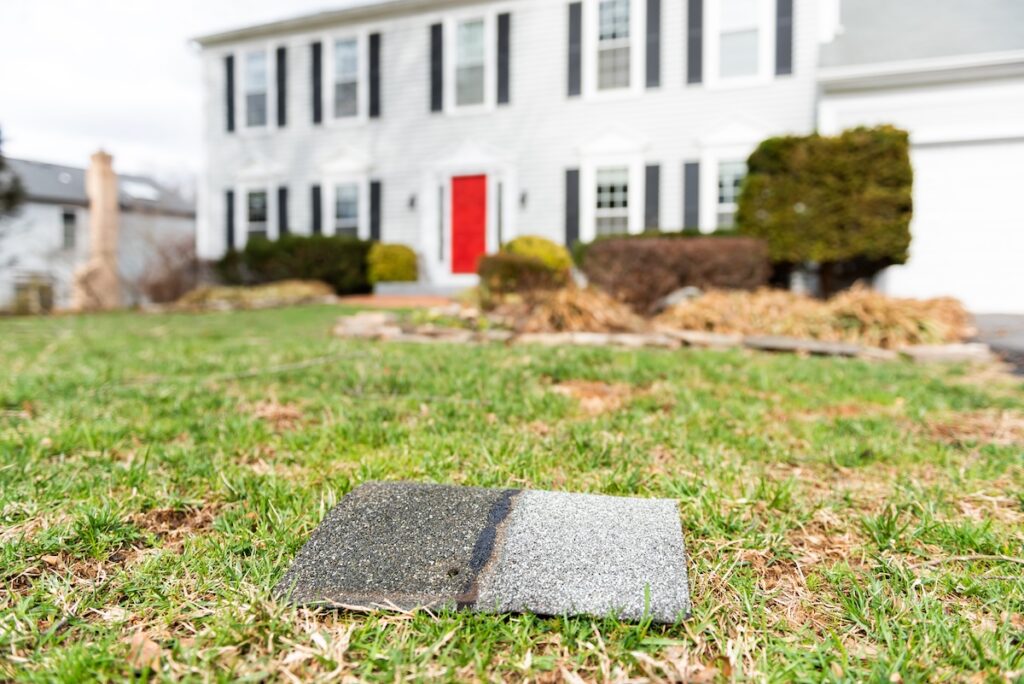
Missing shingles are often caused by severe weather conditions such as high winds, hailstorms, or heavy rains, which can easily tear shingles loose or break them. Aging roofs are another common culprit, as shingles nearing the end of their lifespan are more likely to crack or detach over time.
Improper installation is also a factor, as shingles that aren’t nailed or sealed properly become more vulnerable to damage. Additionally, fallen debris like branches can knock shingles loose during storms, further compromising the integrity of the roof.
Tools and Materials Required
Before you start, gather the following items:
- Replacement shingles (match the type and color)
- Roofing nails
- Hammer
- Pry bar or flat crowbar
- Roofing adhesive or sealant
- Utility knife
- Ladder (with stabilizers for safety)
- Work gloves
- Safety harness
✅ 6 Steps to Replace Missing Shingles on a Roof
Replacing your shingles requires careful planning and attention to detail. Here’s how you can do it in six easy steps:
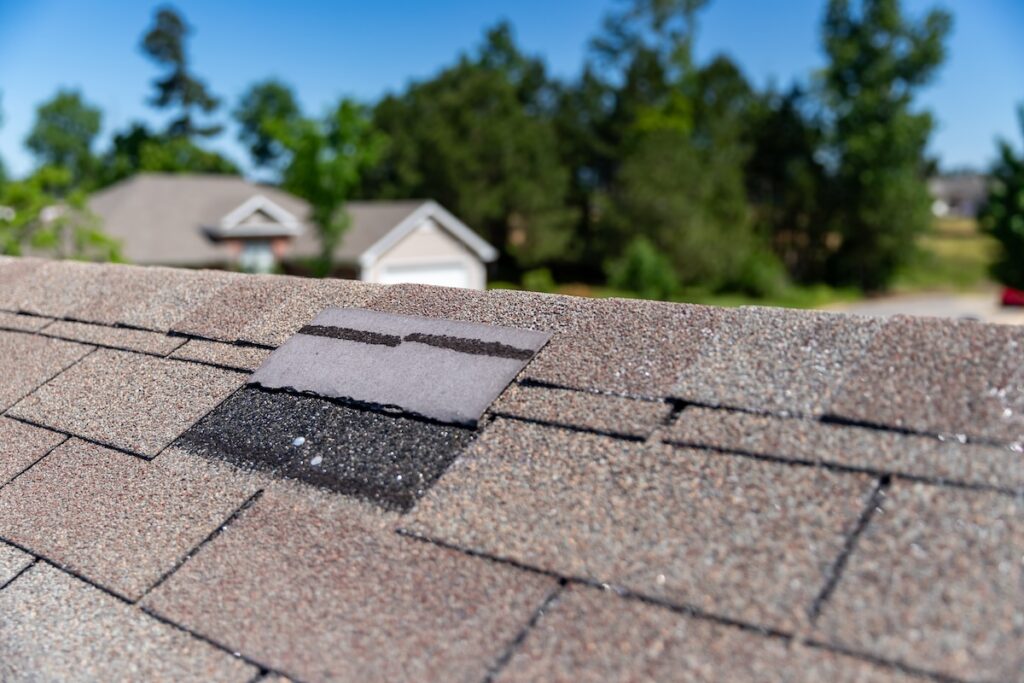
1. Inspect the Damage
Begin by thoroughly surveying your roof to determine the extent of the damage. Take your time to carefully examine every area, focusing on spots where shingles appear to be missing, damaged, or loose. Look for issues such as cracks, broken edges, or exposed nails that may indicate structural weaknesses. In addition, pay special attention to any signs of water damage, such as discoloration, damp spots, or leaks, as these can point to a larger underlying problem. Keep in mind that a small visible issue could sometimes be the result of more widespread damage. Always prioritize safety during the inspection. Use proper safety equipment, such as a sturdy ladder, non-slip shoes, and a harness if necessary, to avoid accidents. If the roof is too steep or the damage seems extensive, it’s a good idea to call a professional roofer to conduct the inspection safely and thoroughly.
2. Remove the Damaged Shingle(s)
To replace the damaged shingle, you’ll need to carefully remove it from your roof without causing further harm to the surrounding shingles or underlayment. Start by gently lifting the shingles located directly above the damaged one. This will expose the nails securing the damaged shingle in place. Use a pry bar or flat crowbar to ease the surrounding shingles upward and gain access to the nails. Carefully remove each nail one by one, ensuring you don’t tear or weaken the adjacent shingles during the process. A hammer claw or nail puller can help you remove nails with more precision. Once all the nails are out, slide the damaged shingle free from its position on the roof. Be sure to dispose of the damaged shingle properly to prevent debris from accumulating on your roof, gutters, or yard. This step is crucial to prepare the area for the replacement shingle.
3. Prepare the Area
After removing the damaged shingle, it’s important to prepare the now-exposed area to ensure a smooth and secure installation of the replacement shingle. Begin by inspecting the exposed section for any leftover debris, such as nail fragments or roofing material, that could interfere with the replacement process. Use a brush or cloth to clean the surface thoroughly, ensuring there are no obstructions. Next, check the roofing underlayment for any tears, holes, or signs of moisture damage. If the underlayment has been compromised, it’s essential to repair or replace it before moving forward. This step is critical to maintaining your roof’s waterproof integrity. Additionally, ensure the surface is completely dry before installing the new shingle. A clean, dry surface provides a stronger bond for the adhesive and ensures the new shingle stays secure against the elements.
4. Cut the Replacement Shingle
Once the area is prepared, take the replacement shingle and get it ready for installation. First, check the size and shape of the replacement shingle to ensure it matches the one you removed. If necessary, use a utility knife to trim the shingle to the correct dimensions, ensuring it fits snugly into the space left by the damaged one. Precision is important here, as a poorly fitting shingle could leave gaps or uneven edges that compromise the roof’s insulation and protection. Take your time to measure and cut accurately to ensure the replacement shingle blends seamlessly with the surrounding ones. Before proceeding, slide the trimmed shingle into place to double-check the fit. This step lets you make any additional adjustments before you begin securing the shingle to the roof, saving time and effort later.
5. Install the New Shingle
With the replacement shingle properly prepared, it’s time to secure it to your roof. Begin by sliding the new shingle into position, making sure it aligns perfectly with the adjacent shingles. A proper alignment ensures a uniform appearance and prevents gaps that could allow water or debris to enter. Once the shingle is in place, use roofing nails to fasten it securely. Drive the nails just above the tab slots of the shingle, as this provides maximum stability. Use enough nails to hold the shingle firmly in place, but be careful not to overdrive them, as this can damage the shingle or weaken its hold. Additionally, make sure the nails are evenly spaced to distribute the load and enhance the new shingle’s ability to withstand wind, rain, and other weather conditions. After nailing, check for any loose edges and make adjustments as needed to ensure the shingle sits flush with the surrounding ones.
6. Seal It With Adhesive
To complete the repair and ensure the area is properly waterproof, apply a layer of roofing adhesive or sealant. Start by covering the nail heads with adhesive to prevent water from seeping through and causing damage. Then, spread the adhesive over any gaps or edges around the new shingle to create a tight seal that integrates it with the existing roof. If the shingle overlaps with others, press down gently but firmly to secure it in place and eliminate any spaces where water could get in. Follow the product instructions for the adhesive to ensure optimal application and drying. Allow the adhesive to dry completely before exposing the area to heavy rain or extreme weather conditions. Proper sealing not only protects your roof from further damage but also ensures the longevity of the repair, keeping your home safe and dry.
👨🔧 When to Call a Professional Roofer
While replacing a few shingles can be a manageable DIY task, there are instances when it’s better to call a professional roofing service like Kenneth Daniel Roofing:
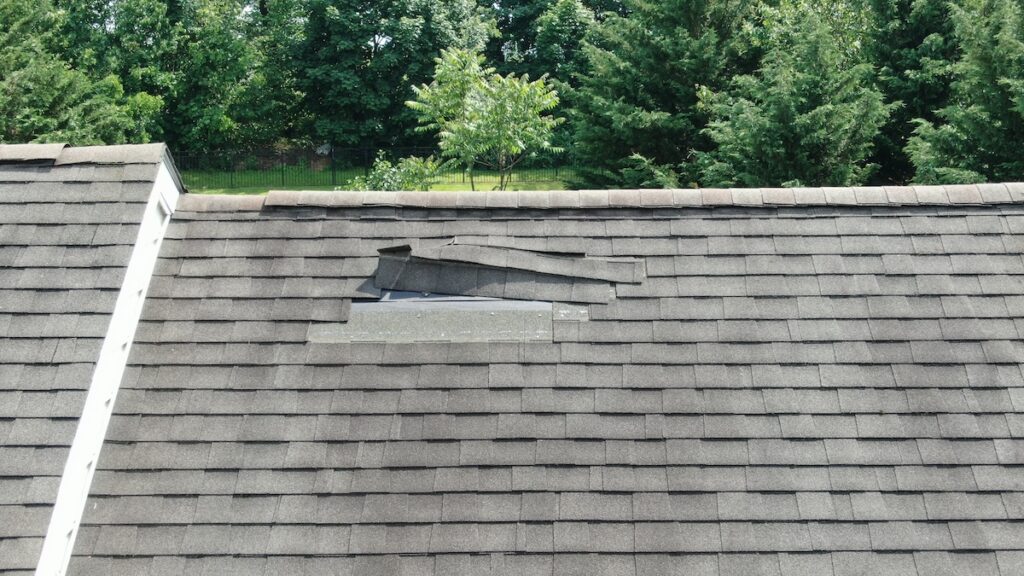
Extensive Damage
If a large portion of your roof is damaged, it’s a clear sign that professional help is needed. Attempting to patch up significant damage on your own can lead to missed issues or improper repairs, which may worsen over time. Professionals have the expertise to assess the extent of the damage and provide long-lasting solutions, preventing further complications and costly repairs down the road.
Recurring Issues
Are shingles constantly going missing or getting damaged, even after repeated repairs? This could indicate deeper structural problems with your roof that require a thorough inspection by an expert. Persistent issues like this might be a sign of poor installation, aging materials, or underlying damage that simple DIY fixes can’t address effectively.
Safety Concerns
Roof repairs can be dangerous, especially if you don’t have experience or the proper safety equipment. Climbing onto a roof without taking adequate precautions increases the risk of accidents and injuries. Trained professionals not only have the tools and experience to work safely but can also ensure the job is done correctly without putting anyone at risk.
Old Roofs
If your roof is reaching the end of its lifespan, patchwork repairs will only delay the inevitable. Older roofs often require a full replacement to ensure your home is properly protected from weather damage and leaks. A professional can help you determine whether it’s time for a replacement and guide you through the process of selecting durable, long-lasting materials for your new roof.
🛠️ Replace Missing Shingles
At Kenneth Daniel Roofing, we understand how important it is to address missing shingles quickly and effectively to protect your home. With years of experience, a proven track record of quality workmanship, and a commitment to customer satisfaction, our team is the one you can trust for all your storm damage repairs.
Don’t let missing shingles compromise your home’s safety—contact Kenneth Daniel Roofing today for a free inspection and personalized repair solution. Let us keep your roof strong and your home protected. Call us now or schedule your appointment online!
EXPLORE OUR RECENT ARTICLES
We’re Redefining Roofing. You In?
