
Metal Roof Vents (Options, Installation & More)
 1.29.25
 7 minutes read
Looking to improve ventilation and airflow for your home? Metal roof vents are an excellent solution for any homeowner who wants a durable, long-lasting roofing component that also boosts energy efficiency and comfort.
Whether you’re learning about their benefits, exploring installation tips, or trying to understand which vent type is best for your roof, this guide has it all. Here’s what we’ll cover:
- Why metal roof vents are important
- Step-by-step guide to installing metal roof vents
- Maintenance tips for metal roof vents
👉 Why Metal Roof Vents Are Important
Properly implemented roof ventilation is essential for protecting your home and ensuring your roof lasts longer. Among the available options, metal roof vents offer several unique benefits that set them apart from other materials.
One key advantage is their durability. Made from sturdy materials, metal vents can endure harsh weather conditions far better than plastic alternatives. This makes them a reliable choice for long-term performance and protection.
Additionally, metal roof vents contribute to energy efficiency and moisture control. By reducing heat buildup in your attic, they help keep your home cooler and lower energy costs. At the same time, they prevent moisture accumulation, reducing the risks of mold, mildew, and structural damage.
Different Types of Metal Roof Vents
When choosing a metal roof vent, it’s essential to know your options. Here are some of the most popular types of vents available:
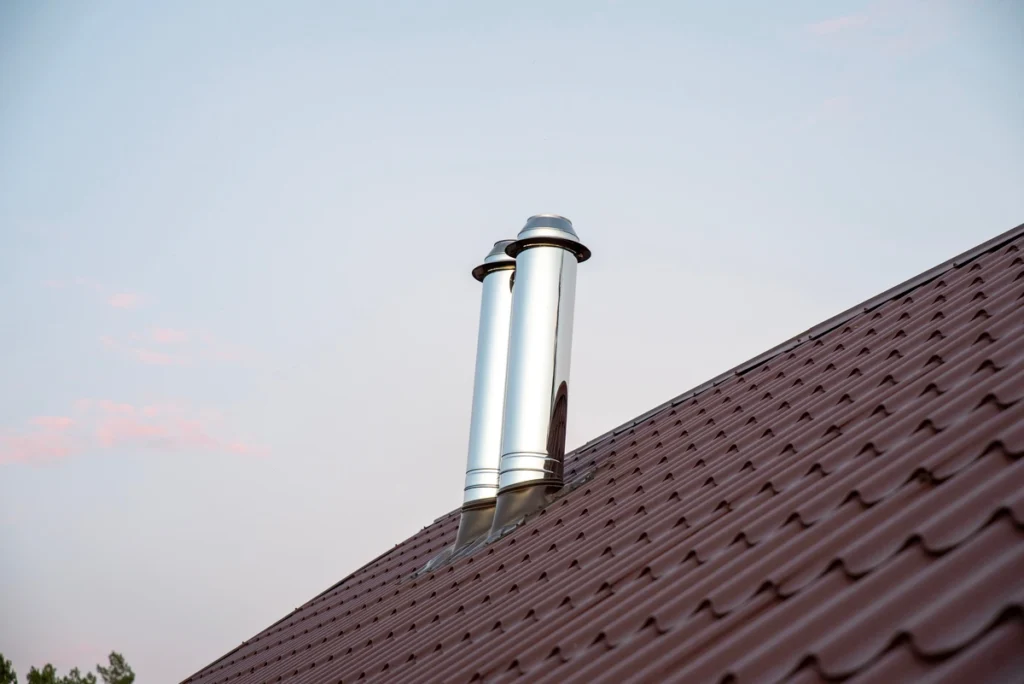
- Ridge Vents: These run along the roof peak, blending seamlessly with the roofing material and providing continuous ventilation for attic spaces.
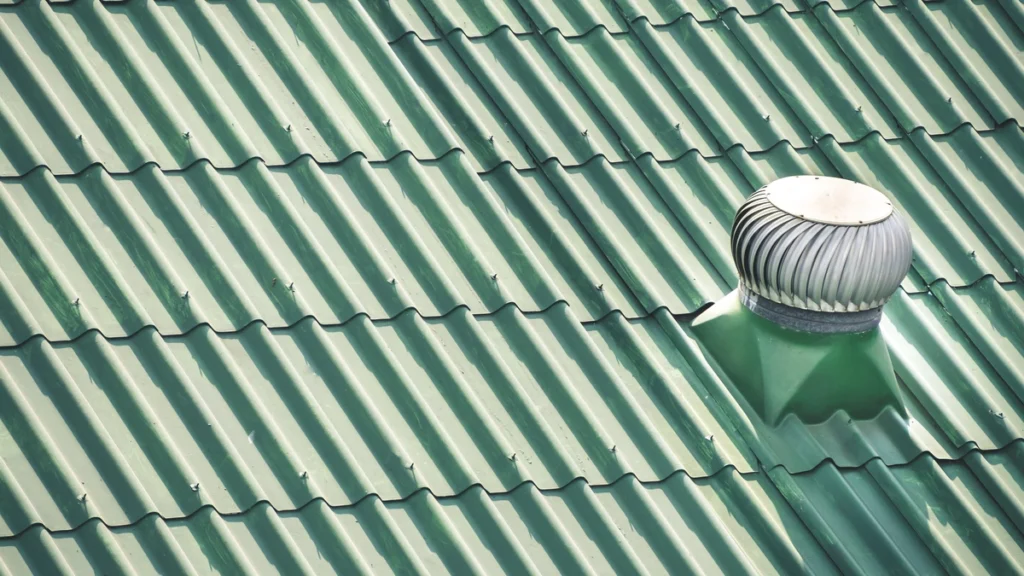
- Turbine Vents: Powered by wind, these vents actively remove hot air while adding a unique visual element to your roofline.
- Box Vents: Static square vents that are budget-friendly and ideal for smaller attic spaces.
- Solar-Powered Vents: Using renewable energy, these vents feature fans for enhanced ventilation—great for eco-conscious homeowners.
🛠️ How to Install Metal Roof Vents (Step-by-Step Guide)

Installing roof vents can be a challenging task, but with the right tools and preparation, it’s manageable. Here’s a simplified guide to installing metal roof vents:
1: Gather Materials
Before you begin, make sure you have all the necessary materials and tools for the installation process. You will need a metal roof vent, which will act as the primary piece for ventilation. A measuring tape is essential to accurately mark the placement of the vent. To cut through the roof, you’ll need a reciprocating saw or metal shears, depending on the type of roof you’re working with. Roof sealant is critical for ensuring no water leaks into the attic, so keep this on hand. You will also need screws and a drill to secure the vent in place, along with flashing material to create an extra layer of protection against leaks. Having all these materials ready will help the process go smoothly without interruptions.
2: Plan the Vent Placement
Proper placement of the roof vent is key to achieving balanced airflow in your attic. Begin by identifying the area of the attic that requires venting, and then determine the best location for the vent. Mark the exact spots where you will install the vents. Keep in mind that the placement should allow for balanced airflow between intake and exhaust vents, promoting effective ventilation throughout the attic space. Planning this step carefully will ensure your ventilation system works efficiently and prevents any issues related to improper airflow.
3: Cut Openings in the Roof
Once you’ve marked the vent placement, it’s time to cut openings in the roof. Using a reciprocating saw or metal shears, carefully cut through the roofing material along the marked measurements. Make sure to follow the markings precisely to avoid any misalignment with the vent. Take your time during this step to ensure that the openings are clean and accurate. Misaligned or jagged cuts can affect the vent installation and may lead to future issues, so be meticulous as you work.
4: Install Flashing
After cutting the openings, the next step is to install the flashing material. Flashing is typically made of metal and is placed under the vent to prevent water from leaking into the attic. Slide the flashing under the edges of the roof shingles, ensuring it overlaps with the roofing material to allow proper water drainage. This step is essential for keeping your attic dry and protecting your home from water damage. Check that the flashing is securely in place and properly aligned before proceeding to the next step.
5: Mount the Vent
With the flashing installed, you can now mount the vent. Position the vent directly over the opening and flashing, making sure it is properly aligned. Secure the vent in place by using screws and a drill, fastening it firmly to the roof. Once the vent is secured, apply a generous amount of roof sealant around the edges of the vent. The sealant will create a watertight barrier, preventing any potential leaks. Take care to evenly apply the sealant for a clean, effective seal.
6: Inspect for Gaps or Leaks
After the vent is installed, it’s important to thoroughly inspect the area for any gaps or leaks. Check that the vent is properly aligned, the flashing is secure, and the sealant has been applied effectively. If you notice any areas where water might seep through, apply additional sealant as needed. To ensure everything is watertight, conduct a water test by spraying water over the installed vents. Observe the area for any signs of leaks. This final inspection will give you peace of mind that your new roof vent is properly installed and functioning as intended.
🧰 Maintenance Tips for Metal Roof Vents
Proper maintenance extends the lifespan and efficiency of your metal roof vents. Here are a few tips:
Inspect Your Metal Roof Vents Annually
Regular inspections are key to keeping your metal roof vents functioning efficiently. At least once a year, check for debris, rust, or visible cracks that could hinder performance. Look for signs of wear and tear, such as bent components or corrosion, which can reduce the vent’s lifespan if not addressed promptly.
Clean Your Metal Roof Vents Regularly
To maintain proper airflow, it’s important to remove any obstructions like leaves, dirt, or other debris from your vents. Cleaning not only ensures consistent ventilation but also prevents long-term buildup that could lead to blockages or reduced efficiency. Make it a habit to clean your vents, especially after storms or during seasonal cleanups.
Check Seals and Flashing for Damage
Inspect the seals and flashing around your vents to ensure they remain intact. Damaged seals or flashing can lead to water leaks, which may cause costly damage to your roof or home interior. If you notice any gaps, tears, or wear, address them immediately to avoid further issues.
Call an Expert for Repairs
If you spot damage, such as cracks, rust, or bent components, it’s best to call a professional for repairs. Attempting to fix vents yourself can lead to improper repairs that may cause more harm than good. Experts have the tools and experience to ensure your vents are restored properly, keeping your home safe and well-ventilated.
🏠 Metal Roof Vents
At Kenneth Daniel Roofing, we know that metal roof vents are a vital part of keeping your home safe, energy-efficient, and well-ventilated. With over a decade of experience, top-quality materials, and a commitment to clear communication, our team is dedicated to delivering roofing solutions you can trust.
Whether you need a new installation, repairs, or a free inspection to get started, we’re here to help. Contact Kenneth Daniel Roofing today to learn more about how we can protect your home for years to come!
EXPLORE OUR RECENT ARTICLES


We’re Redefining Roofing. You In?
