
Metal Roof Installation (Materials, Process & More)
 1.10.25
 7 minutes read
Thinking about upgrading your home with a metal roof? You’re not alone! With rising popularity for durability and energy efficiency, metal roofs are becoming a top choice for homeowners. But what’s involved in metal roof installation? From materials to installation steps and benefits, we’ve got you covered. Here’s what we’ll break down in this blog post:
- What makes metal roofs a great choice for homeowners
- The step-by-step process of installing a metal roof
- Tips for proper maintenance and care
🤔 Why Choose Metal Roofing?
Metal roofs are known for their incredible durability, with a lifespan of 40-70 years that far exceeds traditional asphalt shingles. They are built to withstand harsh weather conditions, including high winds, heavy rain, and snow, making them a long-lasting and reliable roofing option.
In terms of energy efficiency, metal roofs excel by reflecting sunlight and reducing heat absorption, which can lower cooling costs during the summer months. Additionally, many metal roof types are compatible with solar panels, offering a sustainable solution for energy-conscious homeowners looking to reduce their environmental impact.
Metal roofing is also an eco-friendly choice. Many metal roofs are made from recycled materials and are fully recyclable at the end of their lifespan. This makes them a green alternative to other roofing materials that are less environmentally friendly.
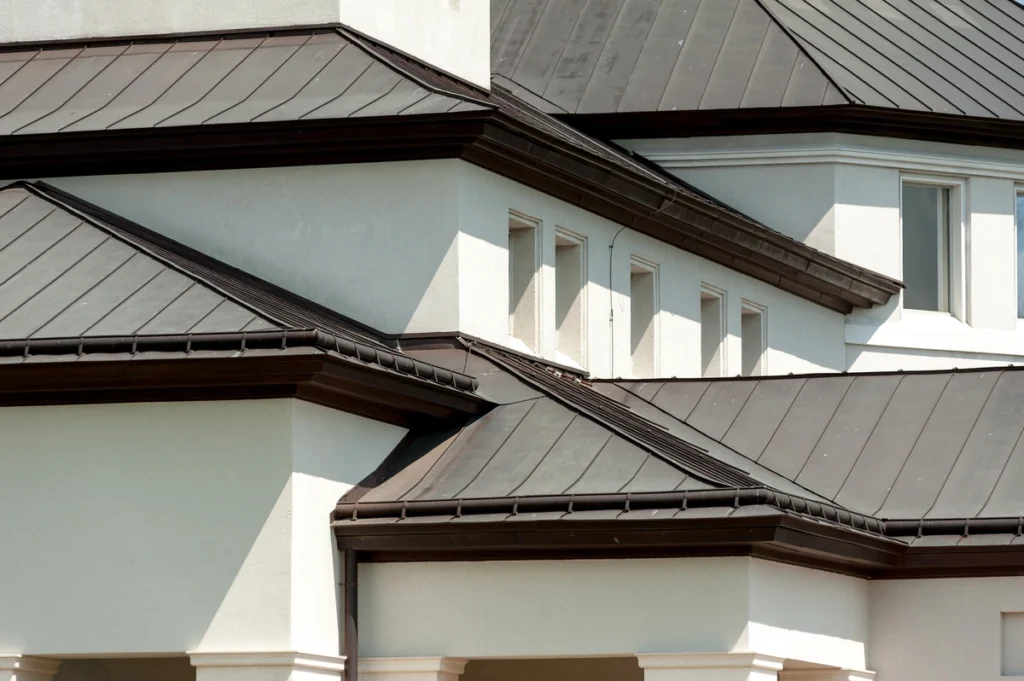
Lastly, metal roofs provide an impressive range of aesthetic options. From sleek, modern designs to more traditional, classic looks, they come in a variety of styles, colors, and finishes. This versatility allows homeowners to tailor their roof to perfectly match their home’s design.
Common Materials in Metal Roof Installation
When considering metal roofing, it’s important to understand the different material options available. Here are the most common ones:
- Aluminum: Lightweight and corrosion-resistant, ideal for coastal areas. Durable and maintains a clean look for years.
- Steel: Sturdy and cost-effective, commonly used with coatings to resist rust and weather damage.
- Copper: Elegant and long-lasting, develops a unique patina over time but comes at a higher cost.
- Zinc: Extremely durable, lasting up to 100 years, with self-healing properties that resist scratches and dents.
✅ 6 Steps to Install a Metal Roof

Installing a metal roof is a durable, energy-efficient choice that can last for decades. Following the correct steps ensures a successful installation and maximizes its lifespan.
1: Prepare the Roof Surface
Before the installation process begins, it’s critical to prepare the roof surface properly. This starts with removing any existing roofing material, such as shingles or old underlayment, to create a clean and stable base. Once the roof surface is exposed, the roof deck is thoroughly inspected for any signs of damage, such as rot or structural weaknesses, which need to be repaired before proceeding. After repairs (if any), a proper underlayment, such as a high-quality synthetic fabric, is applied. This underlayment acts as a crucial moisture barrier, providing an additional layer of protection against water infiltration and ensuring the longevity of the roof.
2: Measure and Cut Panels
Precise measurements are key to a successful metal roof installation. Each metal panel is measured carefully to match the dimensions of the roof sections. Adequate allowances are made for overhangs, which help direct water away from the roof edges, and for ridges, which are critical for proper alignment. Once measured, the panels are cut to the required sizes using specialized tools to ensure straight, clean edges. Properly cut panels are essential for a seamless fit that minimizes gaps and potential weaknesses in the roofing structure.
3: Install Starter Panels
The installation begins at the eaves, where starter strips or panels are laid down to create a secure base for the rest of the roof. These starter panels are aligned carefully to ensure a straight and level foundation for the rows of metal panels that follow. Proper attachment of the starter panels is crucial, as they provide structural integrity to the lower edge of the roof and play a role in preventing uplift during strong winds. This step sets the stage for the rest of the installation to be both efficient and precise.
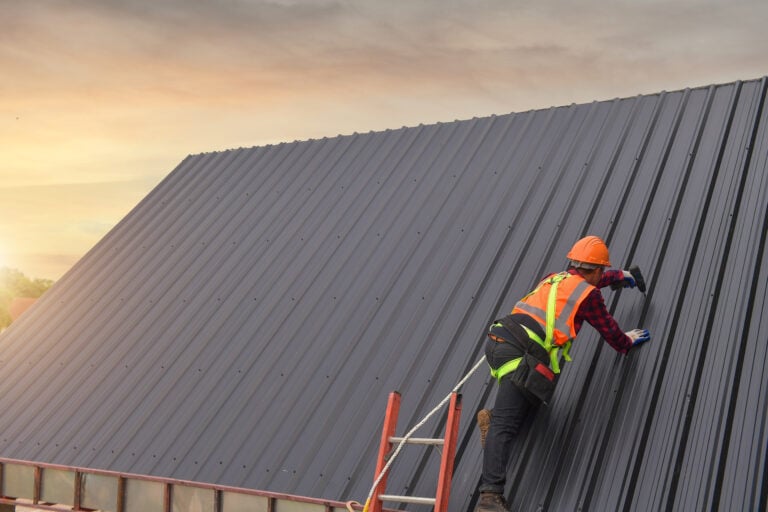
4: Attach Metal Panels
Once the starter panels are in place, the main metal panels are installed. These are attached to the roof deck using screws and fasteners that are specifically designed for metal roofing. The placement of fasteners is carefully planned to ensure maximum weather resistance, preventing water or wind from penetrating the roof. In addition, care is taken to avoid over-tightening fasteners, which can damage the panels. Each panel is overlapped with the next to create a watertight seal, ensuring that the roof can withstand heavy rain, snow, and other harsh weather conditions.
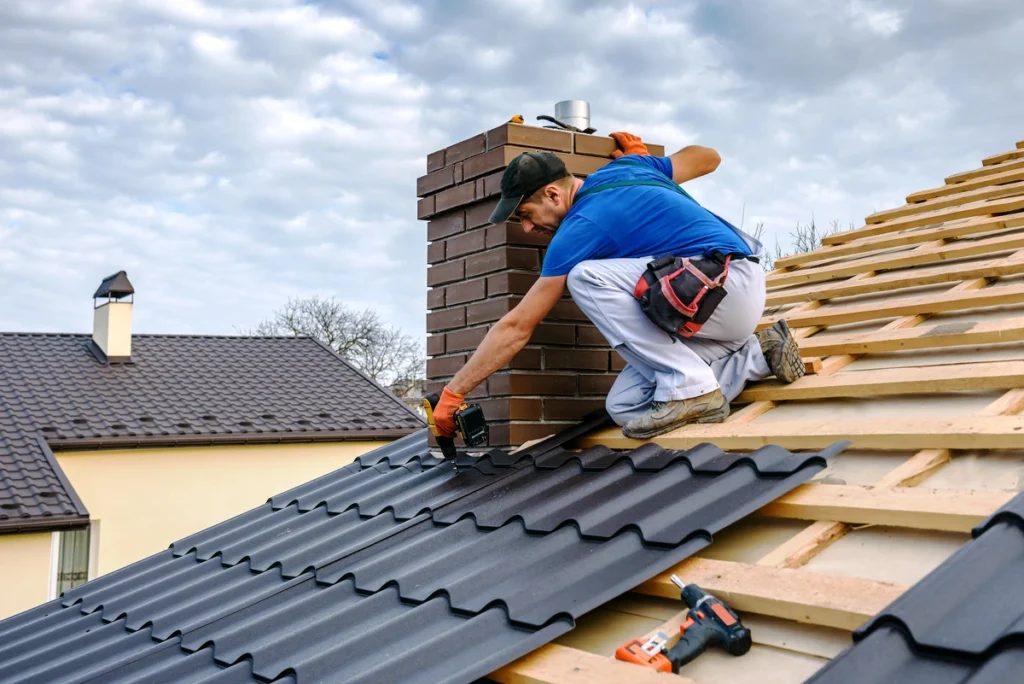
5: Add Flashing and Vents
With the main panels secured, attention turns to the details that prevent leaks and ensure proper ventilation. Flashing is installed around roof protrusions such as chimneys, vents, and skylights. This metal material seals these vulnerable areas, preventing water from seeping through gaps. Ridge vents and other ventilation systems are then added to improve airflow within the attic space, reducing moisture buildup and helping to regulate temperature. Proper ventilation helps extend the life of the roof and improves the overall energy efficiency of the home.
6: Inspect and Finish
The final step is a thorough inspection of the completed roof to ensure everything is securely installed and no gaps or weak points remain. Each panel is checked to confirm it’s properly aligned and fastened, and any exposed edges are addressed to prevent potential leaks. Ridge caps are installed along the roof’s peaks to provide a polished, finished look while also sealing off the ridge area. Additional finishing touches are added as needed to enhance the roof’s appearance and durability. Once the inspection is complete, the roof is ready to provide reliable protection for years to come.
💡 Maintenance Tips for Metal Roofs
While metal roofs require less maintenance compared to other roofing materials, a little care can prolong their lifespan:
Clean Regularly
Regular cleaning is essential to maintaining your roof. Remove debris such as leaves and branches to prevent water from pooling, which can lead to damage over time. Keeping your roof clean not only ensures its longevity but also helps maintain its appearance.
Check for Damage
Inspect your roof periodically, especially after harsh weather conditions. Look for any signs of dents, scratches, or corrosion, as these can compromise the integrity of your roof. Addressing damage early can prevent more significant issues down the line.
Repaint When Needed
Over time, the protective coatings on your roof may begin to wear off. When this happens, repainting is a great way to restore its protective layer and keep it looking fresh and new. Proper maintenance of the paint can also help prevent rust and corrosion.
Ensure Proper Drainage
Clear gutters and downspouts regularly to ensure water drains properly from your roof. Blocked drainage systems can lead to water backup, which may cause leaks or other structural problems. Proper drainage is key to protecting your roof and the building beneath it.
🛠️ Metal Roof Guide
At Kenneth Daniel Roofing, we understand that installing a metal roof is more than just a project—it’s a long-term investment in your home. Our experienced team is dedicated to providing top-quality workmanship, reliable service, and expert advice every step of the way. With a proven track record of satisfied homeowners, we’re the team you can trust to deliver a roof that’s durable, energy-efficient, and built to last.
Ready to upgrade your home with a metal roof? Contact us today to schedule your free roof inspection and take the first step toward a stronger, more beautiful home.
EXPLORE OUR RECENT ARTICLES


We’re Redefining Roofing. You In?
