
Metal Roof Flashing: 5 Steps For Long-Lasting Installations
 1.17.25
 9 minutes read
Metal roof flashing is a critical component of your roofing system, ensuring your home stays dry, secure, and weather-resistant. This thin, durable material is the first line of defense at the most vulnerable points of your roof, such as chimneys, vents, and valleys. Without proper flashing, water can seep into your home, causing mold, rot, and costly structural damage.
This comprehensive guide will walk you through everything you need to know about metal roof flashing, from understanding its purpose and the different types available to the correct installation techniques, common mistakes to avoid, and proper maintenance. By the end, you’ll have the knowledge to ensure your home is fully protected for years to come.
Key Takeaways
- Essential Protection: Metal roof flashing is a crucial material that prevents water from entering your home through vulnerable areas.
- Installation: The process requires accurate measurements, a clean surface, and proper sealing to be effective.
- Maintenance: Regular maintenance is a must to prevent wear, corrosion, and leaks.
- Types: There are different types of flashing for various parts of the roof, like valleys, vents, and chimneys.
What Is Metal Roof Flashing?
Metal roof flashing is a thin material, typically made from aluminum, copper, or galvanized steel, that is installed around roof features (like chimneys, vents, skylights, and valleys) to prevent water from seeping into your home. It acts as a protective barrier, directing water away from vulnerable areas into the gutters and off your roof.
Without proper flashing, water can infiltrate your home, leading to costly issues like mold, rotting wood, and structural damage.
Types of Roof Metal Flashing
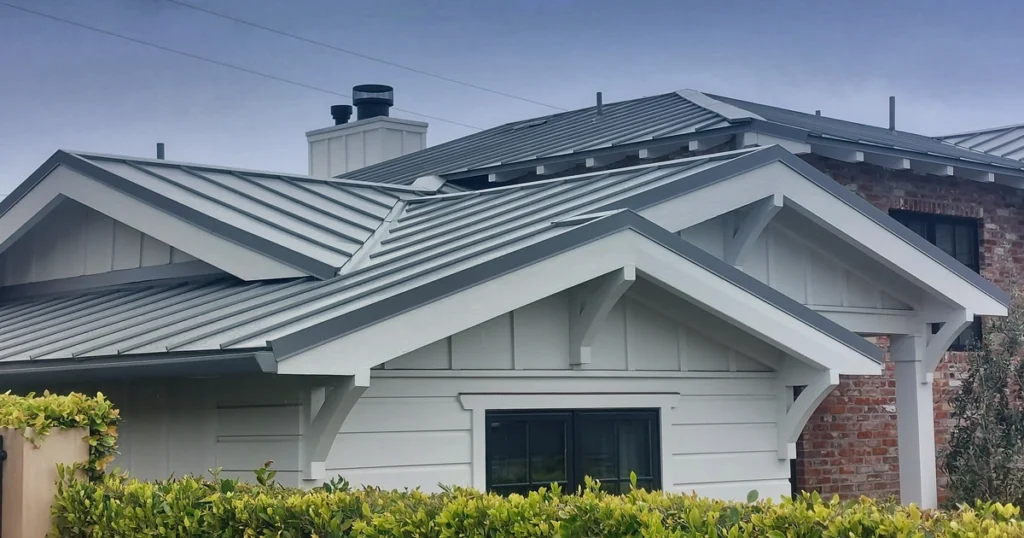
- Step Flashing: Used where the roof meets a vertical wall, ensuring water flows away from the structure.
- Drip Edge Flashing: Installed along roof edges to guide water into gutters and prevent damage to the roof deck.
- Valley Flashing: Placed in roof valleys to protect the area where two roof slopes meet, directing water off the roof.
- Vent Pipe Flashing: Seals around vent pipes to prevent leaks while allowing proper ventilation.
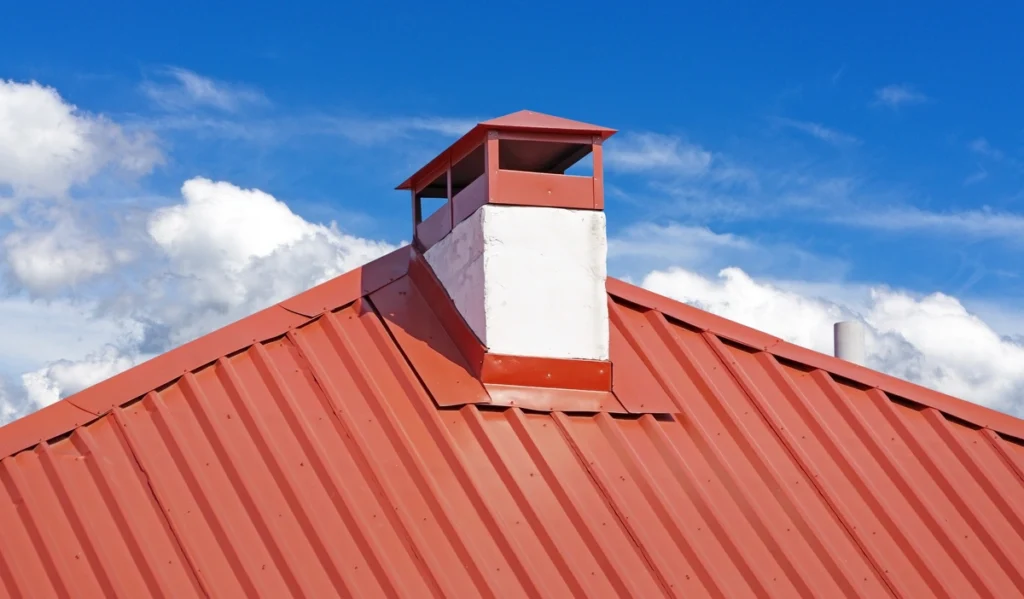
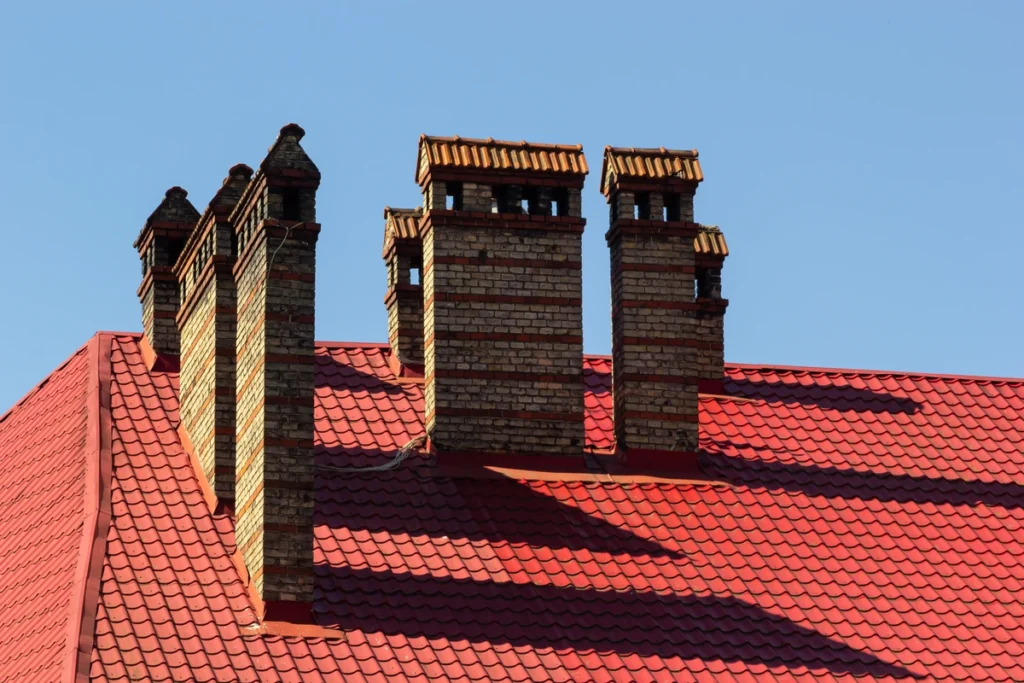
- Chimney Flashing: Installed around chimneys for a watertight seal, protecting against leaks at these vulnerable points.
5 Steps for Installing Metal Roof Flashing
Installing metal roof flashing correctly is crucial for its effectiveness. Here’s a step-by-step guide:
1. Measure the Area
Start by accurately measuring the area where the metal roof flashing will be installed. Use a reliable measuring tape to determine the precise length and width, and record these dimensions carefully. Double-check your measurements to avoid any errors, as even small inaccuracies can lead to imperfect fitting.
It’s important to measure not only the flat surface but also account for any overlaps or bends where the flashing will need to cover. Proper measurements will help you purchase or cut the flashing to the exact size needed. If the flashing doesn’t fit correctly, it can leave gaps that allow water to seep through, potentially causing long-term damage. As experienced roofers, we recommend you take the time to measure thoroughly, ensuring you get the right materials and avoid costly mistakes.
2: Clean the Surface
Before you begin installing the flashing, make sure the surface is completely clean and ready. Use a broom or brush to remove any loose dirt, dust, or debris from the area. If there are stubborn materials like old adhesive, roofing tar, or nails left behind from previous installations, scrape them off carefully using a putty knife or a similar tool. Pay special attention to any rough or uneven spots, as these can prevent the flashing from sitting flush against the surface.
For best results when installing metal roof flashing, you may want to wash the area with water and let it dry completely before proceeding. A clean and smooth surface is critical for achieving a strong, long-lasting bond between the flashing and the roof. Skipping this step can lead to improper adhesion, which compromises the effectiveness of the installation.
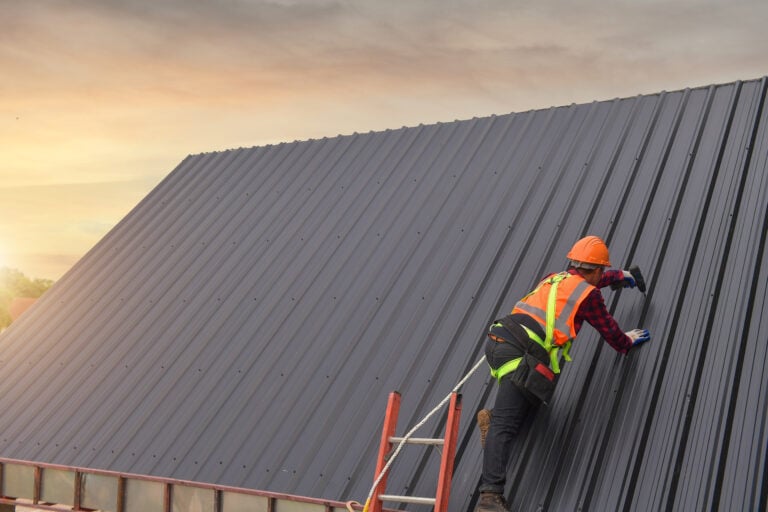
3: Secure the Flashing
Once the surface is clean and dry, position the flashing in its designated location. Take your time aligning it correctly, ensuring it covers the entire area it’s meant to protect. Flashing that is misaligned can leave vulnerable spots exposed to the elements, making this step crucial. Once the flashing is in place, use roofing nails or screws to secure it. Space the fasteners evenly to provide maximum stability and prevent the flashing from shifting over time.
Avoid over-tightening the fasteners, as this could warp the flashing or cause unnecessary damage to the roof. After securing the flashing, apply a generous layer of roofing cement over the nail or screw heads. This additional step helps to create a watertight seal, ensuring moisture cannot seep through the fastener holes. Proper fastening is key to keeping the flashing stable and effective through various weather conditions.
4: Seal the Edges
To create a completely watertight barrier, it’s essential to seal all edges of the flashing carefully. Use high-quality roofing cement or caulk and apply it evenly along the entire perimeter of the flashing. Pay extra attention to areas where water is most likely to enter, such as corners, seams, and overlaps.
When applying the sealing material, make sure there are no gaps or thin spots, as these could compromise the seal. Use a putty knife or similar tool to smooth out the sealant for even coverage and a professional finish. In areas prone to heavy rainfall or water pooling, consider adding an extra layer of sealant for added protection. A well-sealed edge prevents leaks, reinforces the flashing’s durability, and ensures it will stand up to harsh weather conditions for years to come.
5: Inspect Your Work
After completing the metal roof flashing installation, take time to thoroughly inspect your work to ensure everything is properly secured and sealed. Begin by visually examining the flashing, checking for any gaps, loose fasteners, or areas with insufficient sealant. Gently tug on the flashing to confirm it is securely attached and won’t shift under normal conditions. Next, test the watertightness of the installation by running water over the area with a hose or a bucket. Observe closely to see if any leaks occur, particularly around the edges or fastener points.
If you notice any issues, address them immediately by applying additional sealant or re-fastening loose sections. A final, detailed inspection ensures that your flashing installation is effective and ready to provide long-term protection against moisture and leaks. Taking this extra step will give you peace of mind and confidence in your work.
Avoid These Metal Roof Flashing Installation Mistakes
To get the most out of your metal roof flashing, here are some mistakes to steer clear of:
Using the Wrong Material
Choosing the wrong flashing material can compromise the durability and effectiveness of your roof. It’s essential to pick a material that is not only long-lasting but also compatible with the specific type of roof you have. For instance, using aluminum flashing on a roof that requires copper could lead to corrosion or other issues over time. Always consult with a professional to ensure the right material is used.
Improper Sealing
Poorly sealed edges and seams in your flashing can result in serious water leaks, which may damage your roof and the interior of your home. Proper sealing is crucial to keeping moisture out and maintaining the integrity of your roof. Make sure all seams are tightly sealed using high-quality sealants designed specifically for roofing applications.
Skipping Maintenance
Overlooking regular maintenance can reduce the effectiveness of your roof flashing over time. Flashing is constantly exposed to the elements, and wear and tear is inevitable. Regular inspections and timely repairs are essential to catch small issues before they turn into costly problems. Staying proactive can save you money and extend your roof’s lifespan.
DIY Without Experience
Attempting to install or repair flashing without experience can lead to costly mistakes. Flashing requires precision and expertise to ensure it’s done correctly. If you’re not confident in your skills, it’s best to leave the job to professional roofers who have the tools and knowledge to do it right the first time. A poorly executed DIY job can lead to more expensive repairs down the road.
Importance of Metal Roof Flashing Maintenance
Even with a perfect installation, your metal roof flashing is constantly exposed to the elements and will experience normal wear and tear over time. A proactive approach to your roof’s maintenance is the best way to ensure it continues to protect your home from leaks and costly water damage.
Here is a simple maintenance checklist for your metal roof flashing:
- Perform Seasonal Inspections: Schedule a visual inspection of your flashing every spring and fall. Pay close attention to areas around chimneys, vents, and valleys, as these are common spots for damage.
- Clear Debris Regularly: Leaves, twigs, and other debris can accumulate around flashing, trapping moisture and accelerating corrosion. Safely remove any debris to allow water to flow freely.
- Check for Corrosion or Rust: Inspect your flashing for any signs of rust or corrosion. Early detection allows you to treat the affected areas before the damage spreads.
- Examine Sealants and Fasteners: Over time, sealants can crack and fasteners can loosen. Check that all seals are intact and that your flashing is securely attached.
By following a simple maintenance plan, you can significantly extend the lifespan of your metal roof flashing and avoid the stress of unexpected leaks. Staying on top of these small tasks is a vital part of protecting your roof’s overall integrity and your home’s long-term value.
Metal Roof Flashing
At Kenneth Daniel Roofing, we understand that metal roof flashing is critical to protecting your home from the elements. As a renowned roofing company, using top-tier materials, delivering expert craftsmanship, and providing award-winning customer service has made us the trusted choice for homeowners across North Carolina and Virginia.
When you choose us, you’re not just getting a roofing contractor—you’re gaining a partner who cares about the safety and longevity of your home. Contact Kenneth Daniel Roofing today for a free roof inspection and see why so many homeowners rely on us for their roofing needs. Let’s protect what matters most—together.
EXPLORE OUR RECENT ARTICLES


We’re Redefining Roofing. You In?
