
How to Tarp a Roof In An Emergency (Full 8-Step Guide)
 6.24.25
 10 minutes read
When severe weather strikes your home, roof damage can expose your property to water, wind, and debris. Emergency roof tarping provides crucial temporary protection until permanent repairs can be made. This comprehensive guide will walk you through the essential steps to safely and effectively tarp your roof during an emergency situation.
Emergency roof tarping is a temporary solution that can prevent thousands of dollars in additional damage to your home’s interior. Whether you’re dealing with missing shingles, fallen tree branches, or storm damage, knowing how to tarp a roof properly can be the difference between manageable repairs and extensive water damage throughout your home.
In this guide, we’ll cover:
- When you need emergency roof tarping
- Tools and materials required for the job
- Step-by-step instructions for tarping your roof
- How to maintain your temporary tarp until repairs are complete
🤔 When Do You Need Emergency Roof Tarping?
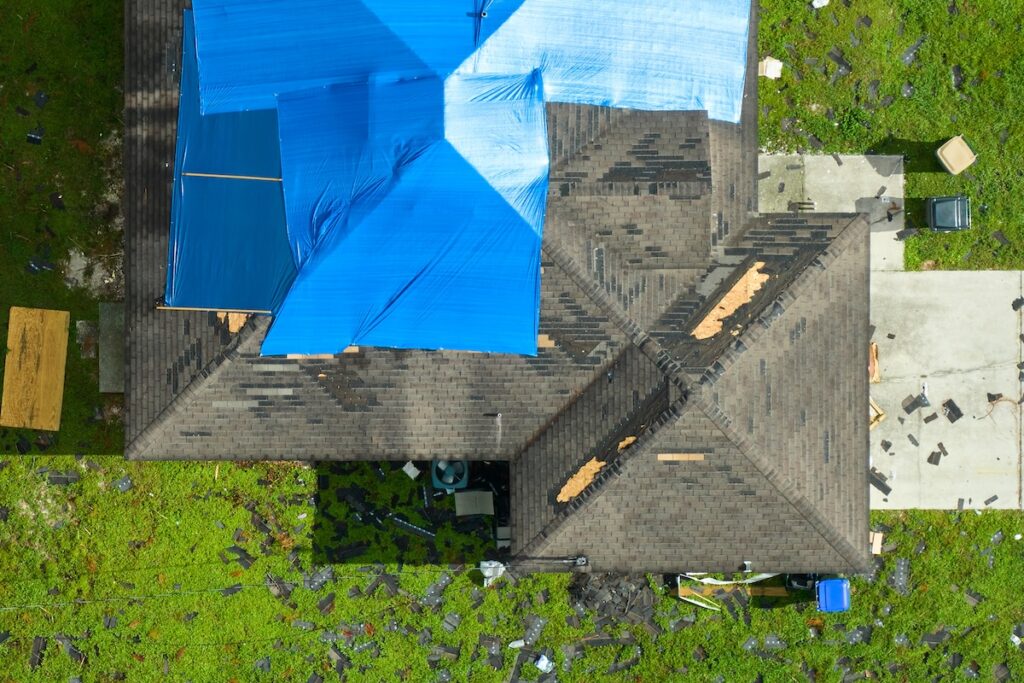
Emergency roof tarping is essential when your roof sustains damage that leaves openings for water, wind, or debris to enter your home. Common situations requiring immediate tarping include storm damage from high winds, hail, or falling debris that tear shingles or damage flashing around chimneys and vents. Fallen trees or branches can puncture roof decking, and missing or damaged shingles from wind can leave the underlayment and decking exposed. Any structural damage that prevents the roof from shedding water effectively also requires temporary protection.
Acting quickly is critical. Every hour an exposed roof remains unrepaired increases the risk of water damage to your home’s structure, insulation, electrical systems, and personal belongings. Emergency tarping provides a temporary solution to minimize further damage until permanent repairs can be made.
Tools and Materials You’ll Need
Having the right materials and tools ready before you begin will make the process safer and more efficient. Here’s what you’ll need:
Tarping Materials:
- Heavy-duty polyethylene tarp (at least 6-mil thickness)
- Tarp should extend 4 feet beyond the damaged area on all sides
- Multiple tarps for large damaged areas
Fastening Materials:
- 2×4 lumber boards (8-10 feet long)
- Roofing nails or screws (2-3 inches long)
- Sandbags or weighted objects
- Rope or bungee cords for additional securing
Tools:
- Hammer or drill with bits
- Utility knife
- Measuring tape
- Chalk line for marking
- Extension ladder
- Safety equipment (harness, non-slip shoes, gloves)
✅ 8 Step Guide: How to Tarp a Roof in an Emergency
Knowing how to tarp a roof in an emergency can prevent further damage to your home after a storm or accident. This quick guide ensures you can protect your property until professional repairs are made.
1. Assess the Damage and Plan Your Approach
Before climbing onto your roof, it’s important to take a step back and assess the situation thoroughly. Start by inspecting the roof from the ground to get a general sense of the damage. Use binoculars or a zoomed-in camera if you’re unable to clearly see the affected areas. Look for missing shingles, visible holes, or areas where water might be pooling. Take note of the locations and size of the damage to help you plan the size and placement of your tarp.
Take photos of the damage to document it for insurance purposes. These photos will serve as proof of the extent of the damage, which can be helpful during a claims process.
Once you’ve identified the damaged areas, plan how you will approach the work. Think about the safest way to access the roof—this might involve using a stable ladder, scaffolding, or accessing the roof from a specific side with less slope. Be sure to identify any roof features such as chimneys, vents, or skylights that could make navigation more challenging. The goal is to have a clear plan before climbing up to minimize risks.
2. Prepare Your Materials and Safety Equipment
Gathering the right tools and materials beforehand will save time and ensure you can perform the work safely and effectively. Start by collecting a heavy-duty tarp that is large enough to cover the damaged area, with at least 4 feet of overlap on all sides. This overlap is crucial for preventing water from seeping under the tarp during heavy rain or strong winds. Pre-cut the tarp to the right size if possible—it’s much easier to prepare it on the ground than on the roof.
You’ll also need tools like a hammer or drill, nails or screws, 2×4 lumber boards, roofing cement or sealant, a utility knife, and sandbags or weighted objects. Additionally, make sure you have safety equipment such as a sturdy ladder, non-slip shoes, gloves, a harness, and safety goggles. Double-check that your ladder is stable and positioned correctly, with the base placed roughly one foot away from the wall for every four feet of ladder height.
Take your time to double-check that you have everything you need before heading up. Once on the roof, it’s much harder to go back down and retrieve forgotten items, and it can increase the risk of accidents.
3. Clear Debris from the Damaged Area
Before you can apply the tarp, you’ll need to clear any loose debris or damaged materials from the affected area. Carefully remove broken shingles, twigs, leaves, or other objects that may have collected on the roof. Be mindful of sharp or jagged edges that could cause cuts or tears. Some materials may still be partially attached and require careful handling to avoid causing additional damage.
Use tools like a broom or a soft brush to gently clean the area without scraping or puncturing the roof further. Avoid putting too much pressure on unstable parts of the roof; stepping on weak spots could cause further structural issues. Ensuring the area is clean and smooth will help the tarp lie flat and secure better, preventing wind or water from getting underneath.
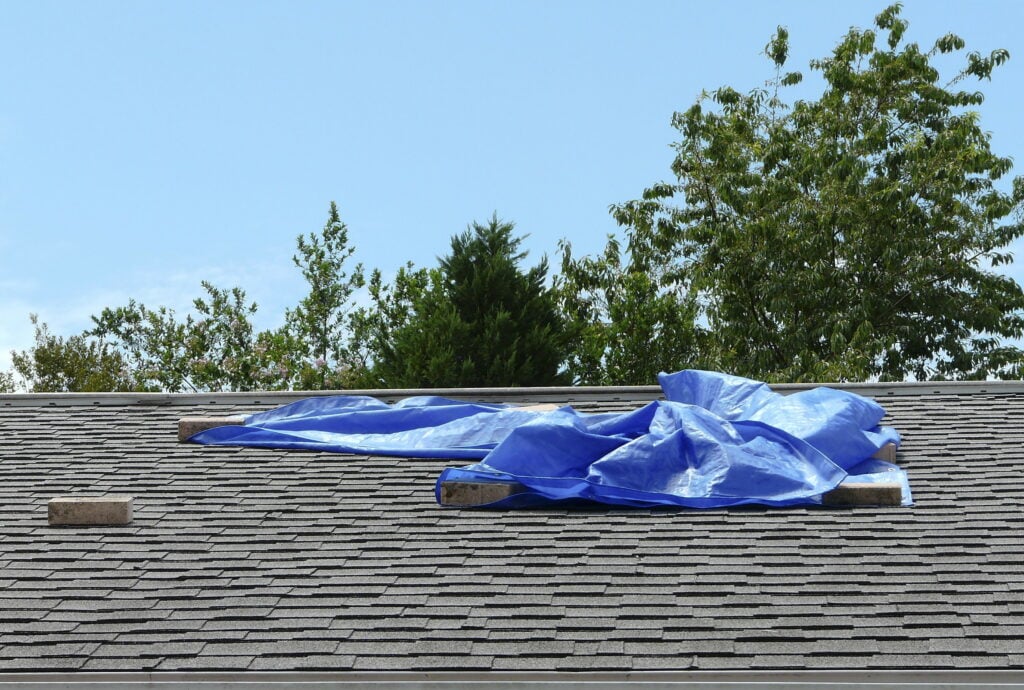
4. Position the Tarp Over the Damaged Area
Once the area is clear, carefully unfold the tarp and begin positioning it over the damaged section. It’s important to ensure the tarp is oriented correctly, with the long side running parallel to the roof’s slope. This helps water flow off smoothly without pooling on top of the tarp.
Make sure the tarp extends at least 4 feet beyond the damage on all sides to provide adequate protection. Pay special attention to the upslope side of the damage, as this is where water is most likely to seep under the tarp if not covered properly. Smooth out any wrinkles or air pockets to ensure the tarp lies flat against the roof. Wrinkles or uneven areas can catch wind and cause the tarp to lift or tear.
If you’re working alone, use weights or clamps to temporarily hold the tarp in place while you secure it. Having someone assist you can make this step easier and safer.
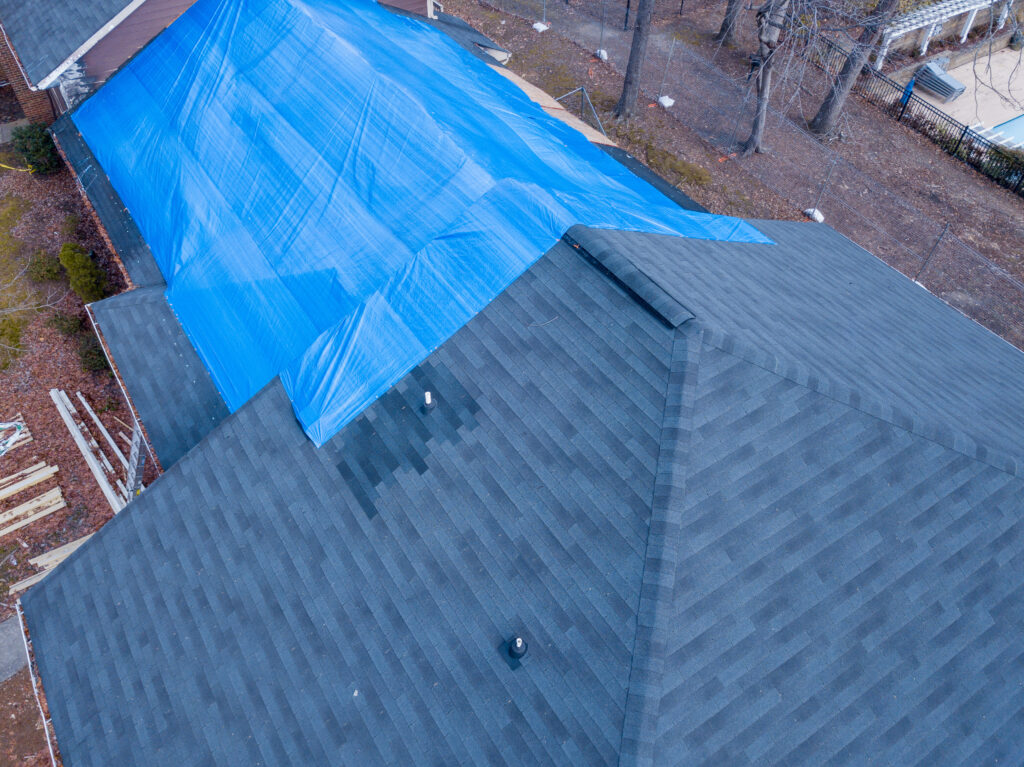
5. Secure the Upper Edge
The upper edge of the tarp, closest to the roof’s peak, is the most critical area to secure. This part of the tarp will bear the brunt of wind and water flowing down the roof, so it needs to be firmly anchored. Place a 2×4 lumber board along the upper edge of the tarp. Roll the tarp around the board once or twice to create a strong anchor point, then secure the board to the roof decking using nails or screws.
Space the fasteners evenly, about 6 to 8 inches apart, to ensure the board is tightly attached. Be careful not to over-tighten, as this could damage the tarp or the roof surface. A well-secured upper edge prevents the tarp from lifting during strong winds and keeps water from flowing underneath.
6. Anchor the Sides and Lower Edge
Next, work your way down the sides of the tarp, securing them with additional boards or fasteners. Use the same method as the upper edge: roll the tarp around a 2×4 board and fasten it securely. Pay close attention to the edges near roof features like vents or chimneys, as these areas can be more vulnerable to leaks.
For the lower edge of the tarp, ensure it is properly secured but allows water to flow off the roof naturally. Avoid creating a barrier that could trap water beneath the tarp. If nailing into the roof isn’t feasible in certain areas, use sandbags or other weighted objects to hold the tarp in place. These weights add extra security, especially during bad weather.
7. Seal and Reinforce Critical Areas
After securing the tarp, take extra steps to reinforce vulnerable points. Apply roofing cement or sealant around nail holes and along the edges where the tarp meets features like chimneys, vents, or skylights. This helps create a watertight seal and prevents leaks at critical junctions.
Check that all fasteners are secure and that the tarp is taut without being overly stretched. A properly tensioned tarp will shed water effectively and resist tearing in high winds. Reinforce any areas that seem weak or prone to failure, as they could compromise the tarp’s effectiveness.
8. Test the Installation and Make Adjustments
Finally, inspect your work thoroughly before leaving the roof. Walk around (safely) and check for loose areas, gaps, or wrinkles in the tarp. Test the security of the fasteners and make any necessary adjustments to ensure the tarp won’t shift or fail under pressure.
Consider how the tarp will perform in different weather conditions, such as rain, wind, or snow. If you anticipate heavy weather, add extra reinforcements like additional boards, fasteners, or weights. It’s better to over-secure the tarp now than to risk it failing later.
Once you’re satisfied with the installation, carefully climb down and monitor the tarp periodically to ensure it remains intact until permanent repairs can be made.
🛠️ Maintaining Your Emergency Tarp
Emergency tarping is a temporary solution that requires regular monitoring and maintenance until permanent repairs can be completed.
Regular Inspections
It’s important to check your tarp on a weekly basis and after any storm events. During these inspections, look for loose fasteners, tears, or areas where water might be pooling. Addressing these issues early can prevent further damage and ensure your tarp remains secure and effective in protecting your home.
Immediate Repairs
If you notice any issues with the tarp, such as small rips or loose edges, take care of them immediately. Minor problems can quickly worsen, leading to major failures that could expose your home to leaks, water damage, or debris. A quick repair now can save you from bigger headaches later.
Weather Monitoring
Keep a close eye on the weather forecast, especially during storm seasons. Before severe weather hits, inspect your tarp to ensure it’s secure and consider reinforcing it if needed. If the tarp is damaged or worn, replace it promptly to maintain proper protection for your home during heavy rains or strong winds.
Professional Follow-Up
Emergency tarps are only a temporary solution and are not designed to last long-term. Schedule permanent repairs as soon as possible to avoid deterioration of the tarp and further risk to your home. Working with a professional will ensure a durable and reliable fix that restores your home to its full integrity.
🏠 Protect Your Home with Professional Roofing Contractors
Tarping your roof in an emergency is an essential skill, but it’s only a temporary solution. For lasting protection and peace of mind, you need a team you can trust to handle the job professionally. At Kenneth Daniel Roofing, we combine over a decade of experience with GAF Master Elite certification to provide reliable, high-quality roofing services.
Whether you need emergency tarping or full roof repairs, our team is here to restore and safeguard your home. Don’t wait—contact Kenneth Daniel Roofing today to schedule your service and ensure your home is protected for years to come!
EXPLORE OUR RECENT ARTICLES
We’re Redefining Roofing. You In?
