
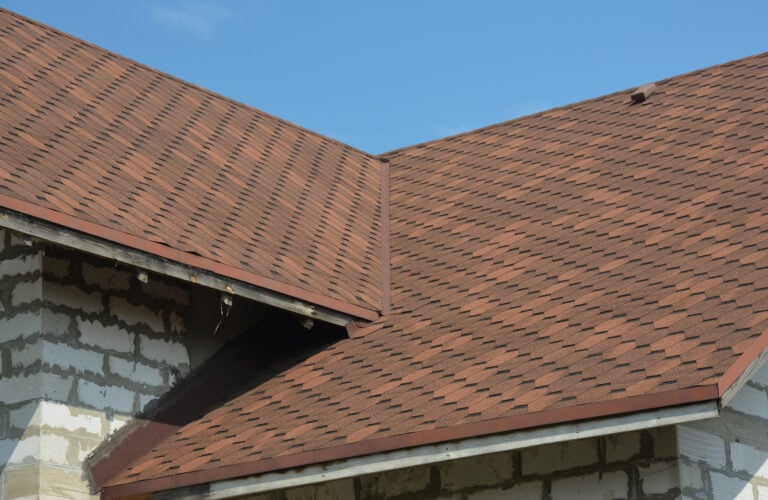
How to Put a Tarp on a Roof Without Nails? (7 Step Guide)
 10.28.25
 8 minutes read
When storms hit Lake Gaston, NC and surrounding areas, one of the most common roofing emergencies homeowners face is water infiltration caused by missing shingles, leaks, or storm damage. In these situations, a quick, temporary fix can make a major difference. Knowing how to put a tarp on a roof without nails allows you to protect your home from further water damage until a professional can make permanent repairs.
Tarping your roof correctly can prevent thousands of dollars in structural repairs and mold remediation. However, doing it improperly—or using nails—can cause even more harm by creating holes in your roof or voiding your warranty. If the damage is extensive or unsafe to handle alone, a professional roofing team can safely secure your home while ensuring no additional structural issues arise.
Here’s what you’ll learn in this homeowner’s guide:
- Why temporary roof protection is essential after a storm
- The tools and materials you’ll need for a nail-free tarp installation
- Step-by-step instructions for safely securing your tarp
- Common mistakes to avoid during emergency roof covering
- How to determine when it’s time to call a professional roofer
Why Tarping Without Nails Matters
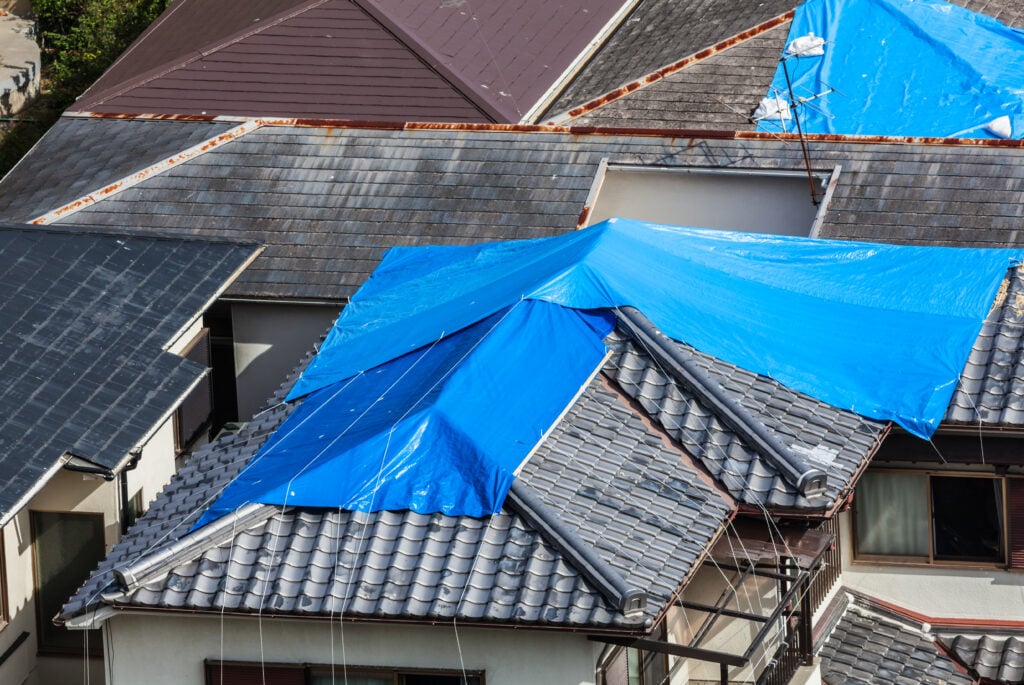
After heavy rain, hail, or high winds, even a small roof leak can turn into a serious problem. Using a tarp without nails provides an effective temporary seal while preventing further roof damage.
Below are a few reasons why nail-free tarping is the best option for homeowners dealing with storm-related roof damage.
- Prevents Further Water Damage: Tarping helps keep moisture out of your attic and insulation, preventing interior leaks and ceiling stains.
- Avoids Structural Damage: Nails can puncture shingles, underlayment, or flashing—leading to more leaks once the tarp is removed.
- Preserves Roof Warranty: Many manufacturer warranties are voided if the roof is altered with non-approved fasteners. A nail-free tarp method keeps your warranty intact.
- Reduces Repair Costs: Proper temporary protection minimizes the amount of replacement materials needed later.
- Adds Safety and Convenience: Nail-free methods often use weighted or anchored systems that are quicker and safer to apply, especially during post-storm cleanup.
For homeowners in Lake Gaston, NC and surrounding areas, having a reliable tarp solution ready can make a major difference after a storm while you wait for permanent repairs.
7 Steps to Put a Tarp on a Roof Without Nailing
Tarping your roof is not a permanent repair—but it’s an effective short-term solution. Below is a safe and simple method to cover your roof using tie-downs, weights, or adhesive anchors rather than nails.
1. Assess the Roof and Safety Conditions
Before beginning, ensure that the area is safe to access. Never attempt to tarp a roof during heavy rain, lightning, or strong winds.
- Inspect the roof from the ground with binoculars if possible.
- Identify damaged areas, such as missing shingles, punctures, or exposed underlayment.
- If the roof is steep or unstable, do not climb it—wait for professional help.
Safety should always come first. Use a sturdy ladder, non-slip shoes, and a harness if available.
2. Gather the Right Materials
A successful nail-free tarp installation starts with the right supplies.
You’ll need:
- Heavy-duty waterproof tarp (at least 6 mil thickness)
- Weighted sandbags, water tubes, or bricks (wrapped in cloth to prevent damage)
- Rope, bungee cords, or ratchet straps
- Utility knife and gloves
- Duct tape or roofing tape for securing edges
- Ladder and safety gear
Tip: Choose a tarp large enough to extend at least 3–4 feet beyond the damaged area to ensure full coverage.
3. Clear the Area Around the Damage
Remove any loose debris such as branches, leaves, or shingles. Cleaning the surface allows the tarp to lay flat and form a better seal.
- Be careful not to dislodge intact shingles.
- Sweep away sharp objects that could tear the tarp.
- Dry the area if possible before laying down the cover.
Moisture or sharp edges can cause the tarp to shift or deteriorate prematurely.
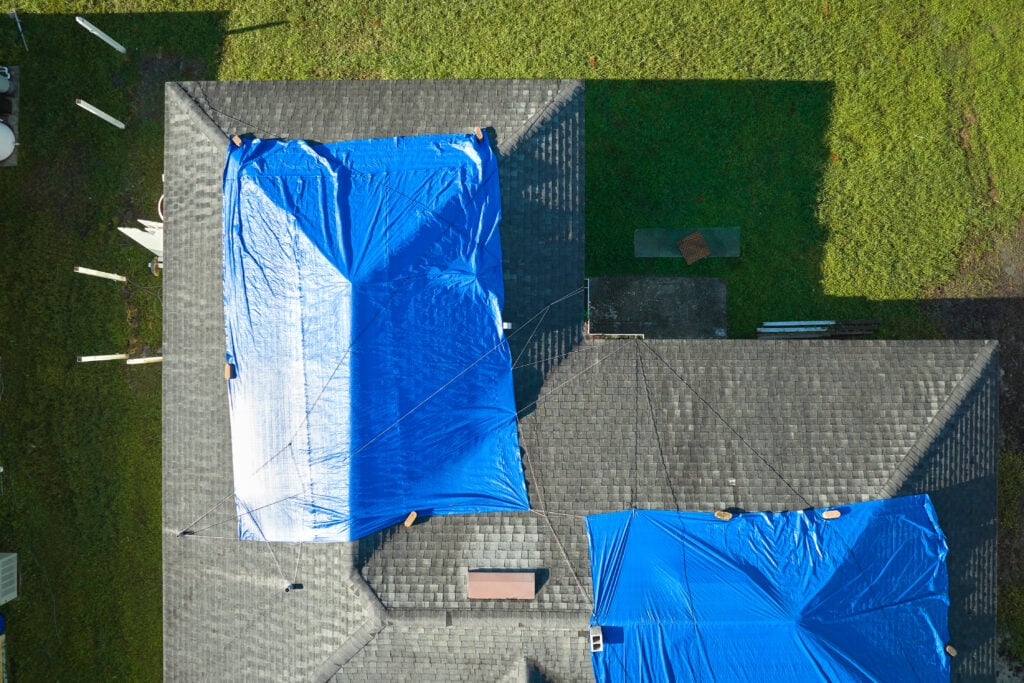
4. Position the Tarp Correctly
Unfold the tarp and place it so it extends beyond the damaged section by several feet on all sides. The upper edge of the tarp should overlap the roof peak whenever possible to allow rainwater to flow over it rather than beneath it.
- Ensure the tarp covers the entire affected area.
- Avoid wrinkles or folds that could trap water.
- Keep the tarp tight but not overstretched.
A smooth, well-aligned tarp will hold up better in windy conditions.
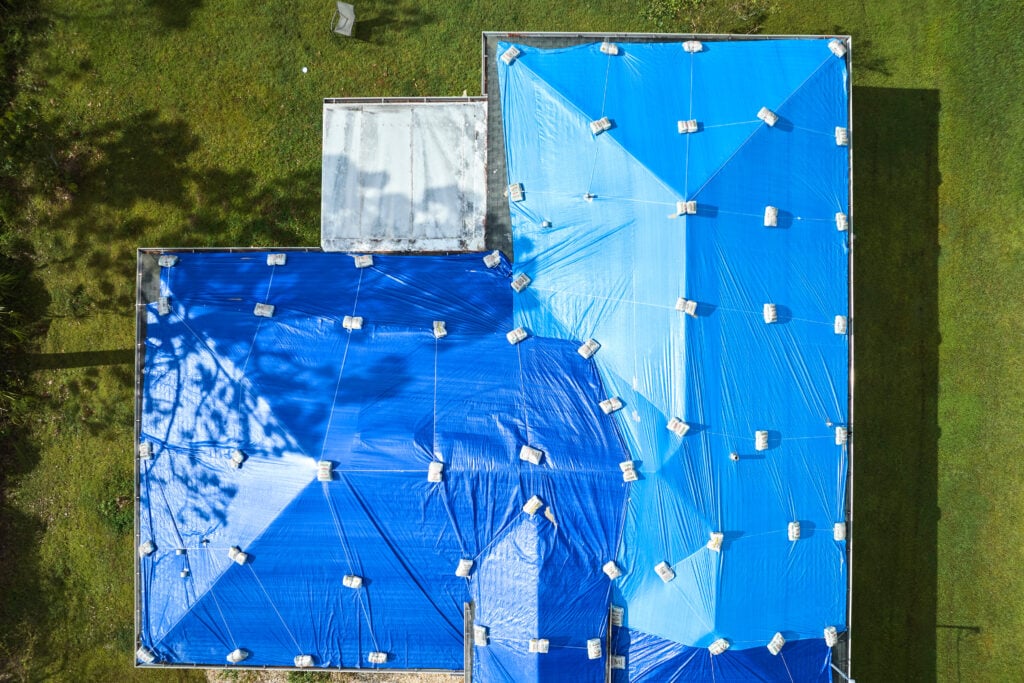
5. Secure the Tarp Without Nails
There are a few reliable methods to anchor your tarp without puncturing your roof.
Weighted Method:
- Place sandbags, filled water tubes, or padded bricks along the tarp edges.
- Ensure weights are evenly distributed to prevent shifting in high winds.
Rope and Anchor Method:
- Tie bungee cords or rope through the tarp’s grommet holes.
- Anchor the ropes to solid, stationary objects like a chimney, railing, or the eaves of your home.
- Avoid tying directly to shingles or gutters.
Adhesive Tape Method:
- Use high-strength roofing tape or duct tape to seal the tarp edges to the roof’s surface.
- Press firmly to ensure a waterproof bond.
In Lake Gaston, NC and surrounding areas, where heavy rain and high winds are common, combining weights with anchored ropes offers the most durable temporary protection.
6. Check for Proper Drainage
Once secured, verify that water will flow off the roof instead of pooling on the tarp.
- Ensure one end of the tarp slopes downward toward the gutters.
- Avoid any dips where rainwater could collect.
- Reinforce edges with extra weights or ropes if water begins to accumulate.
Pooling water increases the risk of leaks and can weaken the tarp over time.
7. Inspect Regularly Until Repairs Are Made
A tarp is a temporary fix—most last about 90 days in fair weather. Inspect the tarp after every major rain or wind event to ensure it’s still secure.
- Reposition or tighten the tarp if it shifts.
- Replace any damaged or frayed ropes.
- Remove debris that collects on top.
If the damage worsens or the tarp becomes ineffective, contact a professional immediately for a more permanent repair solution.
Safety Tips for Roof Tarping
Covering a roof can be risky, especially if it’s steep or wet. Always prioritize safety and never attempt the job alone if conditions are unstable.
Important safety reminders:
- Avoid working during storms or at night.
- Use proper fall protection equipment.
- Keep children and pets away from the work area.
- Have someone assist by stabilizing the ladder and passing tools.
- Wear gloves and non-slip shoes for traction.
Professional roofing contractors have specialized equipment and training to handle these tasks safely. When in doubt, it’s best to leave the work to the experts.
When to Call a Roofing Professional
While tarping can be an effective temporary measure, it’s not a substitute for expert repairs. Some roof issues—such as damaged decking, flashing, or structural instability—require professional evaluation.
Situations That Require Professional Help
- Large or multiple damaged sections
- Roof leaks near chimneys, vents, or skylights
- Severe sagging or visible water pooling
- Mold or water stains inside the attic
- Unstable roofing material or compromised structure
A trusted local roofer in Lake Gaston, NC and surrounding areas can inspect the extent of the damage and provide a long-term repair or replacement plan tailored to your home.
Benefits of Professional Assistance
- Quick response after storms or emergencies
- Safe, insured, and warranty-backed repair services
- Access to high-quality materials and restoration techniques
- Prevention of additional damage caused by improper temporary fixes
Professionals can also help document roof damage for insurance claims, ensuring you get fair compensation for repairs or replacement.
Comparing Nail-Free vs. Nailed Tarp Methods
While nails might seem like an easy way to secure a tarp, the long-term consequences often outweigh the convenience. Here’s how the two approaches compare:
| Factor | Nail-Free Tarp | Nailed Tarp |
| Roof Protection | Preserves shingles and underlayment | Causes new punctures that can leak |
| Installation Time | Slightly longer but safer | Faster but riskier |
| Durability | Effective for up to 90 days | Often loosens after a few storms |
| Ideal Use | Temporary emergency coverage | Short-term, low-quality fix |
| Warranty Impact | Keeps manufacturer warranties valid | May void roof warranties |
The bottom line: nail-free tarping keeps your roof intact and ready for proper repair, while nailed tarps can cause more damage than they prevent.
Protect Your Roof, Preserve Your Home
Learning how to put a tarp on a roof without nails is an important skill every homeowner should know—especially in storm-prone areas like Lake Gaston, NC and surrounding areas. It’s a temporary but powerful solution to protect your home from leaks and further damage until professional repairs can be made.
Still, climbing on a roof can be dangerous, and temporary fixes should never replace expert inspection. If you’ve recently experienced storm damage or notice leaks in your ceiling, contact us today to schedule a professional roof assessment. Our team offers fast, reliable solutions to restore your roof’s strength and ensure your home stays dry, safe, and secure.
EXPLORE OUR RECENT ARTICLES
We’re Redefining Roofing. You In?
