
How to Install Gutters on a Metal Roof (5 Step Guide)
 5.13.25
 7 minutes read
Installing gutters on a metal roof is an essential step to ensure proper drainage and protect your property from water damage. Metal roofs pose unique challenges due to their design, but with the right tools and know-how, you can successfully complete the installation. This guide will walk you through the process, from understanding the benefits of gutters for metal roofs to an easy-to-follow step-by-step installation guide.
Here’s what we’ll cover:
- Why gutters are crucial for metal roofs
- How to install gutters on a metal roof (step-by-step guide)
- Tips to maintain and extend the life of your gutters
🤔 Why Gutters Are Crucial for Metal Roofs
Metal roofs are known for their durability and longevity, but they can face challenges from excessive water runoff if gutters aren’t installed. Without gutters, water can flow off the roof too forcefully, leading to a range of issues that can impact your property over time.
One major benefit of gutters is their ability to protect your foundation by directing water away from it, reducing soil erosion and structural risks. They also help safeguard your landscaping by minimizing pooling water and preventing plants from being washed away during heavy rains. Additionally, gutters keep water from staining your siding or trim, reducing the risk of mold and mildew growth.
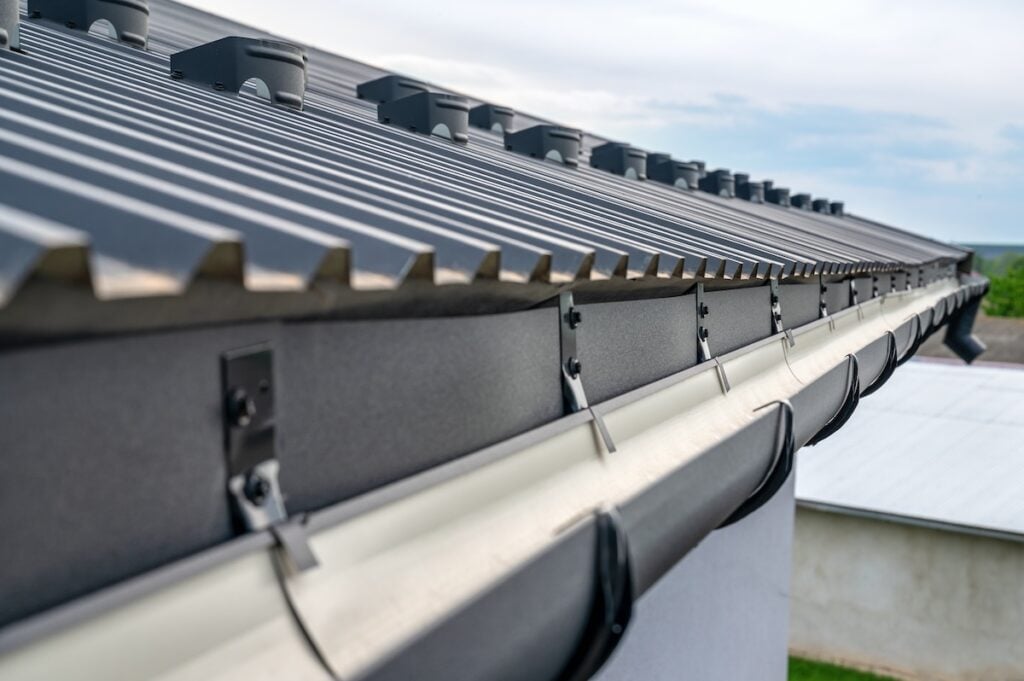
For metal roofs, gutters are especially crucial because they manage the rapid and forceful water flow characteristic of these roofs. High-quality gutters designed for metal roofs ensure proper redirection of water runoff, keeping your home or commercial property protected all year long.
Tools and Materials You’ll Need
Before getting started, gather the following tools and materials to ensure a smooth installation process:
- Tools: Cordless drill, measuring tape, gutter brackets, level, and tin snips
- Materials: Gutters (aluminum or steel recommended), end caps, downspouts, sealant, screws, and splash blocks
- Specialized tools (optional): Safety gear, gutter machine (for custom lengths), and metal snips for fine adjustments
✅ 5 Step Guide to Install Gutters on a Metal Roof
Installing gutters on a metal roof is crucial for managing water runoff and preventing damage to your foundation or landscaping. This 5-step guide ensures a secure and efficient installation, protecting your home from costly issues.
1. Measure and Plan
The first step in installing gutters is to carefully measure your roofline and determine the exact number of gutters, downspouts, and brackets needed for an effective system. Precision is key at this stage to ensure that the final setup works efficiently without any miscalculations. Begin by using a measuring tape to calculate the length of your roofline accurately. Once you have the measurements, identify and mark the areas where the downspouts will be installed. It’s essential to position the downspouts at the lowest points along the roofline to allow for maximum drainage effectiveness. After marking these positions, divide the entire roofline into sections based on your measurements to ensure a proper layout for the gutter system. Taking your time to plan at this stage will make the installation process much smoother and help prevent errors.
2. Install Gutter Brackets
Once you’ve completed the measurements and planning, the next step is to install the gutter brackets, as these are what hold the gutters securely to your roof. Brackets must be installed carefully to ensure they support the weight of the gutters and water flow over time. Begin by marking the placement of the brackets along the roofline. It’s important to space them evenly, with approximately 2 feet between each bracket, to provide consistent support. After marking the placement, pre-drill holes at each of the marked locations to make the installation process easier and more precise. Once the holes are ready, attach the brackets to the roofline using sturdy screws, taking care to ensure that they are aligned correctly for the gutters to sit evenly. Properly installed brackets are crucial for maintaining the stability and functionality of your gutter system.
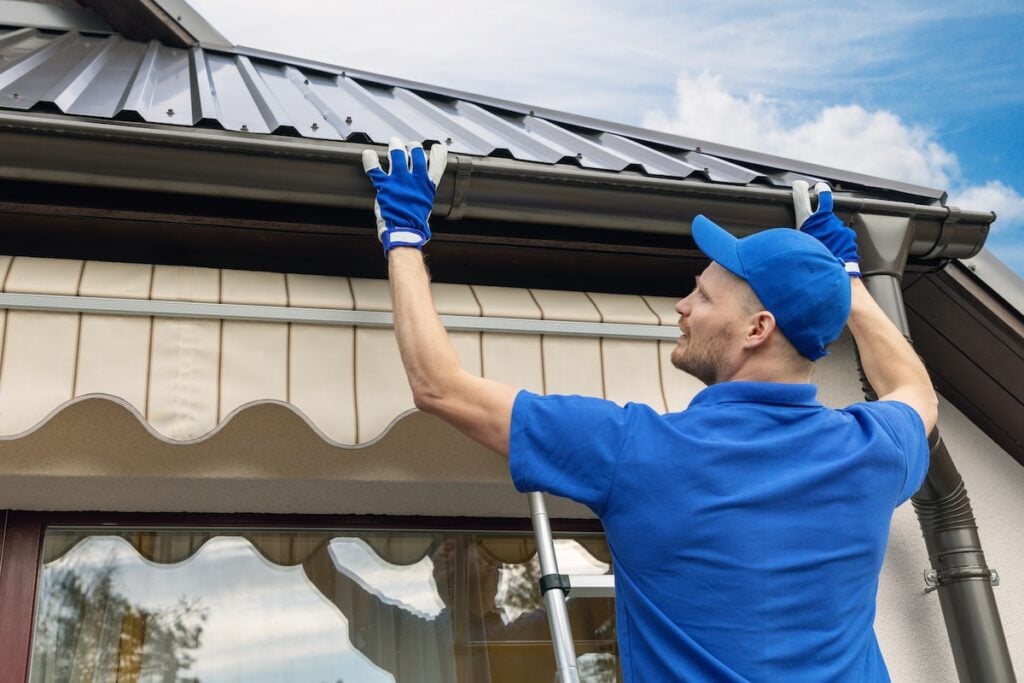
3. Align Gutters
With the brackets securely in place, it’s time to position and attach the gutters. Start by carefully attaching each gutter section to the installed brackets. During this step, it’s essential to use a level to ensure that the gutters are aligned with a slight slope toward the downspouts. This gentle slope is necessary to allow water to flow smoothly toward the downspouts, ensuring effective drainage. After positioning the gutters, pay close attention to the joints where the sections connect. Seal these joints thoroughly with adhesive or sealant to prevent leaks and ensure a watertight system. Taking the time to align and secure the gutters properly will ensure the system works efficiently and lasts for years to come.
4. Install Downspouts
After the gutters are aligned and secured, the next step is to install the downspouts, which channel water away from the roof and foundation. Begin by attaching downspout outlets to the gutters at the positions you marked earlier during the planning phase. Ensure that the outlets are securely fastened to avoid any disconnections. Next, connect the downspouts to the outlets and secure them tightly using screws. The downspouts should be properly aligned to guide water flow efficiently. Once the downspouts are in place, it’s a good idea to add splash blocks at the bottom of each downspout. These blocks help redirect water away from the foundation of your building, preventing potential water damage. Properly installed downspouts are a critical component of the gutter system, ensuring water is safely diverted away from your property.
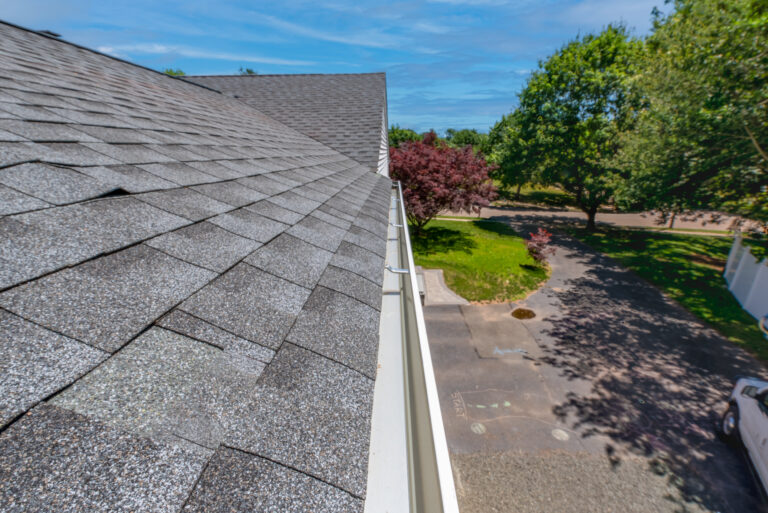
5. Inspect and Test
The final step in the process is to inspect and test the entire gutter system to ensure it is functioning properly. Begin with a thorough visual inspection of all brackets, gutters, and downspouts to make sure every connection is secure and tightly sealed. Look for any gaps, misalignments, or loose components that could cause issues later on. Once you’re satisfied with the inspection, it’s time to test the system. Pour water into the gutters and observe how it flows through the system. Ensure the water moves smoothly toward the downspouts without pooling or leaking at any point. The water should also exit the downspouts effectively without causing any splashing near the foundation. Testing your gutter system ensures that it’s ready to handle real-world conditions and provides peace of mind that your property is protected from water damage.
💡 Maintenance Tips to Extend the Life of Your Gutters

Installing gutters on your metal roof is just the first step. Regular maintenance is crucial for extending the life and efficiency of your gutter system. Keep these tips in mind:
Clean Regularly
Keep your gutters clear by removing debris, leaves, and dirt, especially during the fall when leaves are more likely to accumulate. Regular cleaning prevents clogs that can lead to water overflow and damage to your home’s exterior and foundation.
Inspect Sealants
Take the time to examine the sealants at joints and brackets. Over time, these areas can wear out or crack, leading to leaks. Ensuring the sealants are intact will help maintain the gutter system’s efficiency and prevent water damage.
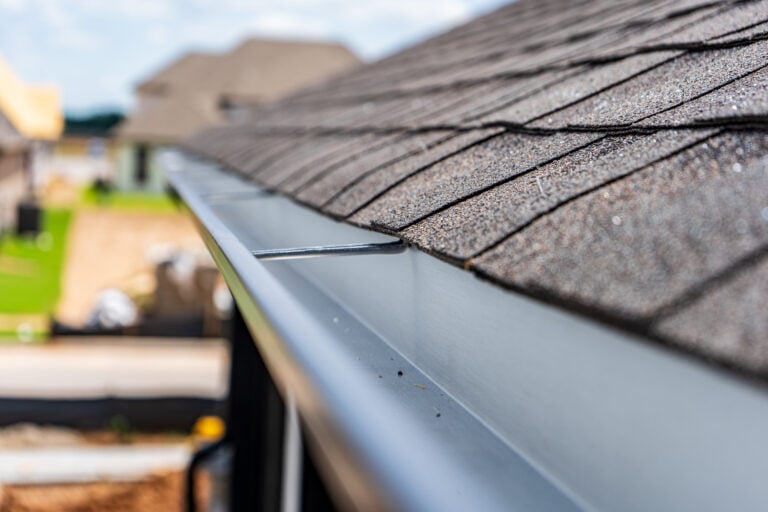
Check for Damage
Inspect your gutters for any visible signs of dents, cracks, or breakage. Even minor damage can impact how well your gutter system performs, potentially causing water to pool or overflow in the wrong areas.
Position Downspouts Correctly
Verify that your downspouts are positioned to direct water far away from your home’s foundation. Incorrectly positioned downspouts can lead to water pooling near your home, which increases the risk of foundation damage and flooding.
Invest in Gutter Guards
Consider installing gutter guards to keep leaves, twigs, and other debris out of your gutters. Gutter guards reduce the frequency of cleaning and help maintain a clear pathway for water to flow efficiently.
🏠 Gutter Installation Guide
Installing gutters on a metal roof can be a challenging task, requiring the right tools, techniques, and expertise to ensure long-lasting results. That’s why trusting the professionals at Kenneth Daniel Roofing makes all the difference.
With over 10 years of experience, a commitment to transparent service, and a proven track record of satisfied customers, we’re the team you can count on to protect your home with a durable, weather-resistant gutter system. Contact us today for a complimentary inspection and let us help you safeguard your property with a gutter solution built to last.
EXPLORE OUR RECENT ARTICLES

We’re Redefining Roofing. You In?
