
Learn How To Install Flat Roof Flashing In 2026 (6 Steps Guide)
 3.11.26
 7 minutes read
Water intrusion is one of the most common causes of roof damage on flat roofing systems, and proper flat roof flashing installation plays a major role in preventing leaks. Flashing seals the joints and transitions where roofing materials meet walls, vents, or other structures. When building owners research long term roofing protection options, they quickly discover that correctly installed flashing is one of the most important elements of a durable flat roof.
In this guide, you will learn:
- What flat roof flashing is and why it protects roofing systems
- Six essential steps involved in installing flashing correctly
- Common flashing materials used on flat roofs
- Warning signs that flashing needs repair or replacement
- Maintenance tips that help extend flashing lifespan
Why Flat Roof Flashing Is Essential for Roof Protection
Flat roofs rely on watertight seals at joints and transitions to keep water from entering the building. Flashing acts as a protective barrier that redirects water away from vulnerable areas such as seams, penetrations, and wall intersections.
Without properly installed flashing, water can seep into the roof system and cause damage to insulation, decking, and interior spaces. Over time, even small flashing issues can lead to major structural repairs.
Here are several key reasons flashing plays such an important role in flat roofing systems.
- Leak Prevention: Flashing seals roof penetrations and edges to keep water from entering the building.
- Drainage Control: Proper flashing helps guide water away from seams and toward drainage points.
- Roof Longevity: By protecting vulnerable areas, flashing helps extend the lifespan of roofing materials.
- Structural Protection: Flashing prevents moisture from reaching structural components beneath the roof.
- Professional Finish: Well installed flashing improves both performance and the visual appearance of the roofing system.
For building owners in Littleton, NC and surrounding areas, maintaining flashing is especially important during seasons with heavy rainfall and fluctuating temperatures.
6 Steps to Install Flat Roof Flashing Properly
Installing flashing on a flat roof requires careful preparation and precise placement to ensure a watertight seal. Professional roofing contractors follow a series of steps to ensure flashing integrates properly with the roofing membrane.
Below are six key steps commonly used when installing flat roof flashing.
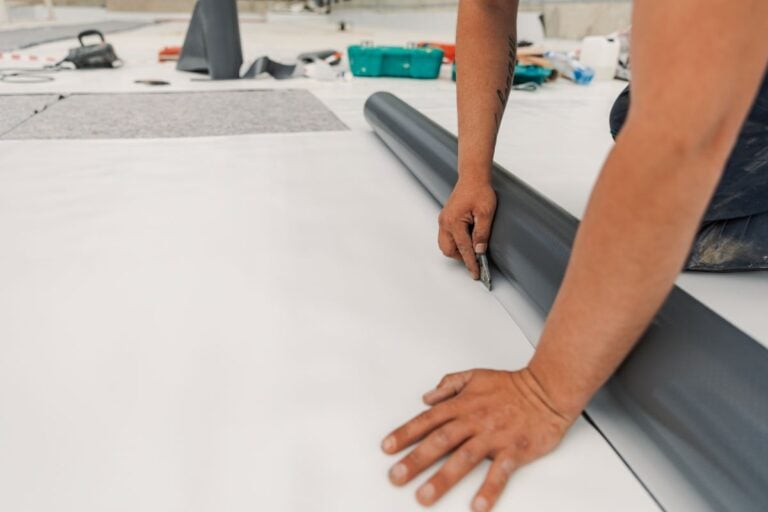
1. Prepare the Roof Surface
Before flashing can be installed, the roof surface must be clean and free from debris. Dirt, dust, and moisture can interfere with adhesion and sealing materials.
Preparation typically includes:
- Removing dirt, debris, and old roofing materials
- Ensuring the surface is dry and smooth
- Inspecting the area for existing damage
Proper preparation helps flashing adhere securely to the roofing surface.
2. Measure and Cut Flashing Material
Flashing must be measured accurately to ensure it covers the transition areas fully. Roofing professionals measure each penetration or joint before cutting flashing material to size.
Important considerations during this step include:
- Allowing overlap between flashing sections
- Ensuring coverage extends beyond vulnerable seams
- Matching flashing to the roofing membrane type
Precise measurements help create a continuous barrier against moisture.
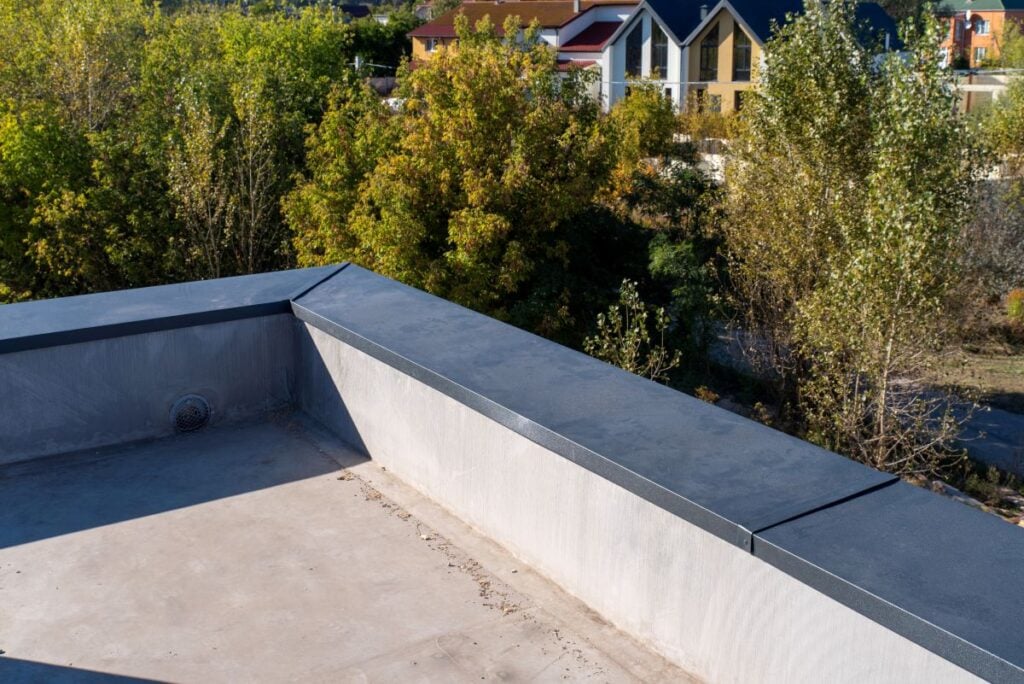
3. Position Flashing at Roof Transitions
Flashing is placed along areas where the roof meets vertical surfaces or penetrations. These locations include walls, vents, skylights, and equipment mounts.
Installers carefully position flashing so it overlaps both the roofing membrane and the vertical surface.
Typical locations for flashing installation include:
- Roof to wall transitions
- Chimneys and vent pipes
- HVAC equipment bases
- Parapet wall edges
Correct placement ensures water flows away from seams rather than toward them.
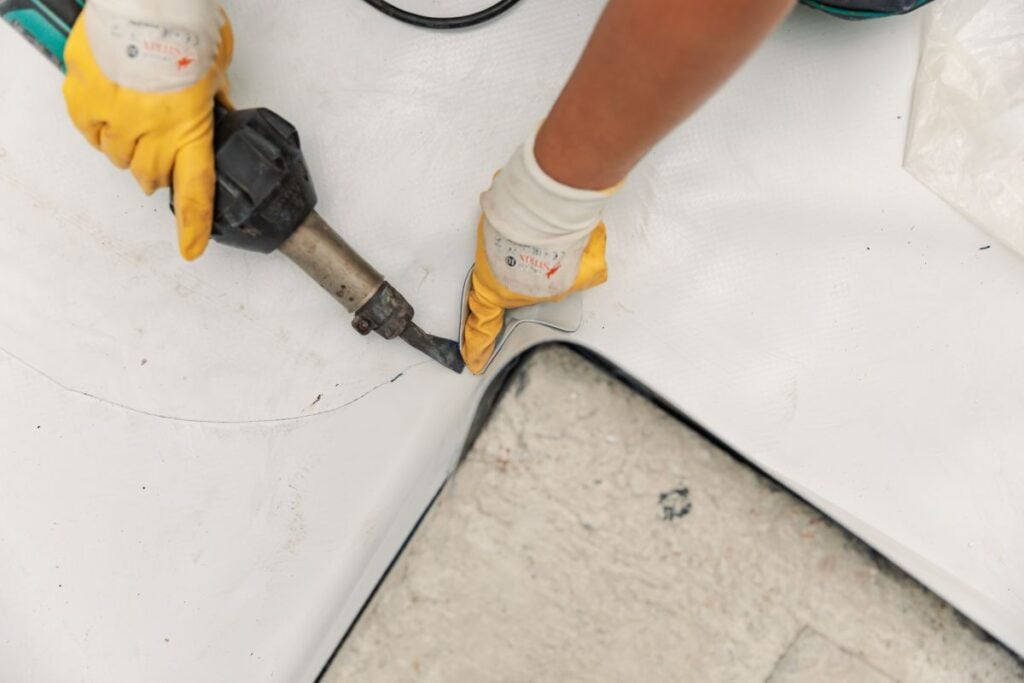
4. Secure Flashing to the Roof Surface
Once positioned, flashing must be securely attached to the roofing structure. The method used depends on the roofing material and flashing type.
Common fastening techniques include:
- Adhesives designed for roofing membranes
- Mechanical fasteners such as screws or rivets
- Heat welding for certain membrane systems
Secure fastening prevents flashing from shifting during strong winds or temperature changes.
5. Seal Flashing Edges and Joints
Sealing the edges of flashing is one of the most important steps in the installation process. Sealants or roofing adhesives are applied to create a watertight bond.
Roofing professionals typically:
- Apply sealant along flashing seams
- Ensure overlapping sections are sealed properly
- Smooth sealant to eliminate gaps
This step ensures moisture cannot penetrate the flashing system.
6. Inspect and Test the Installation
After flashing is installed, contractors inspect the area carefully to ensure the installation is secure.
Inspection typically involves:
- Checking for gaps or loose fasteners
- Confirming flashing overlaps are correct
- Ensuring drainage paths remain unobstructed
Many property owners in Littleton, NC and surrounding areas schedule regular inspections to ensure flashing continues to perform properly over time.
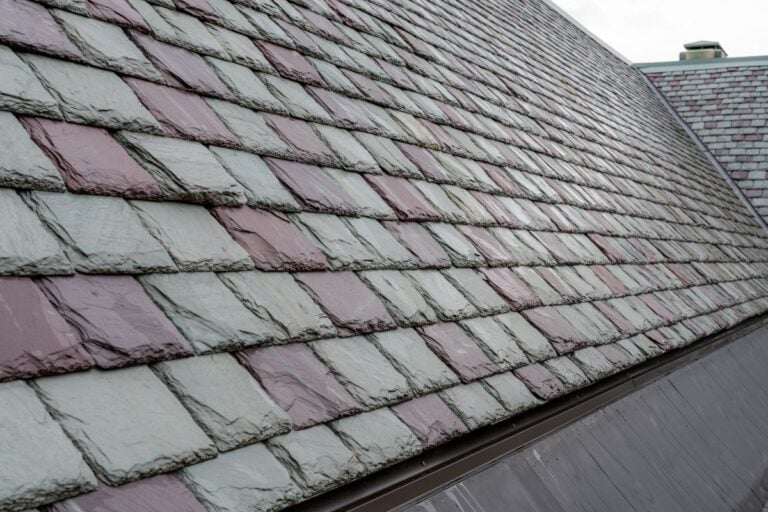
Types of Flat Roof Flashing Materials
Flat roof flashing can be made from several different materials depending on the roofing system and environmental conditions. Choosing the right material helps ensure durability and compatibility with the roof membrane.
Metal Flashing
Metal flashing is one of the most durable options for flat roofs. It is commonly made from materials such as aluminum, galvanized steel, or copper.
Advantages of metal flashing include:
- High durability and strength
- Resistance to weather exposure
- Long lifespan when properly maintained
Metal flashing is frequently used around parapet walls and roof edges.
Rubber or EPDM Flashing
EPDM flashing is commonly used with rubber membrane roofing systems.
This material is flexible and allows flashing to conform easily to roof penetrations and irregular shapes.
Benefits include:
- Excellent waterproofing capabilities
- Flexibility around curved surfaces
- Compatibility with EPDM roofing membranes
PVC or TPO Flashing
PVC and TPO membranes often use matching flashing materials that can be heat welded to create seamless bonds.
Advantages include:
- Strong welded seams
- Chemical resistance
- Lightweight and durable construction
These materials are commonly used on modern commercial flat roofing systems.
Self Adhesive Flashing
Self adhesive flashing materials contain built in adhesive backing that allows for quick installation.
They are often used for small repairs or around minor penetrations.
However, they must be installed carefully to ensure long term adhesion.
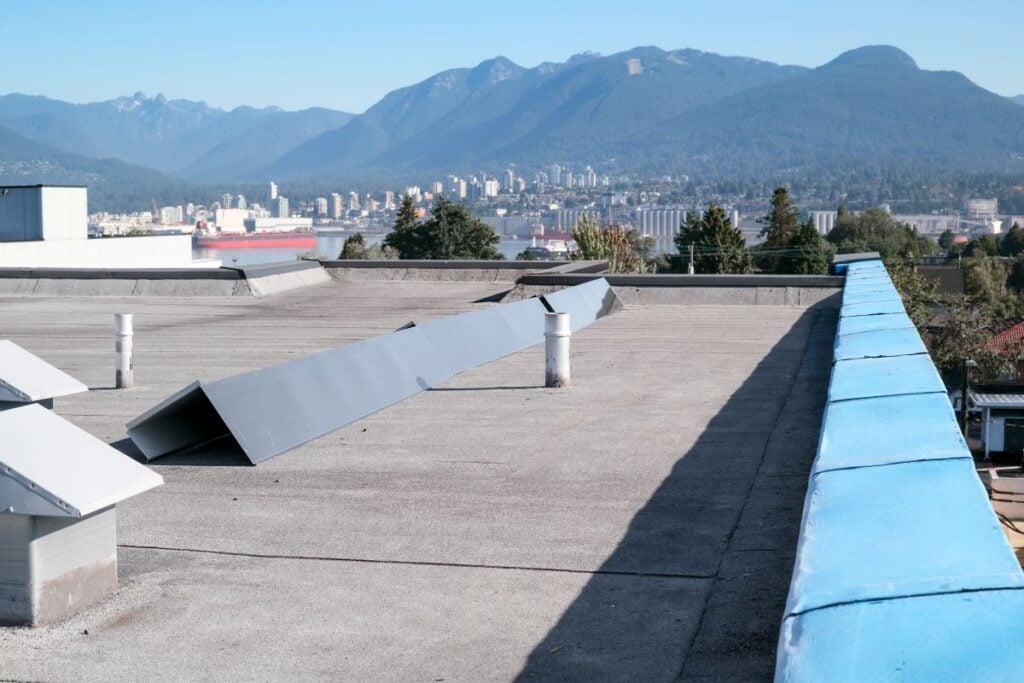
Common Signs Your Flat Roof Flashing Needs Attention
Flashing may last many years, but exposure to weather and temperature changes can eventually cause deterioration. Recognizing early warning signs allows building owners to address problems before leaks occur.
Visible Cracks or Separation
If flashing begins to crack or separate from the roofing surface, water may enter the roofing system.
Cracks often develop due to:
- Temperature expansion and contraction
- Aging sealants
- Structural movement
Rust or Corrosion
Metal flashing may develop rust if protective coatings wear away.
Corrosion weakens the flashing and can lead to holes or structural failure.
Loose Flashing Sections
High winds or improper installation can cause flashing sections to loosen over time.
Loose flashing allows water to enter beneath the roofing membrane.
Interior Water Stains
Water stains on ceilings or walls near roof transitions may indicate flashing failure.
Prompt inspection is recommended if interior moisture appears.
Property owners in Littleton, NC and surrounding areas often rely on routine roof inspections to detect these issues early.
Comparing Flat Roof Flashing Materials
Selecting the right flashing material depends on factors such as roof design, climate conditions, and roofing membrane type.
Below is a comparison of several common flashing materials used in flat roofing systems.
| Flashing Material | Best Application | Key Benefits | Considerations |
| Aluminum | Roof edges and walls | Lightweight and corrosion resistant | May dent under impact |
| Galvanized Steel | Structural flashing | Strong and durable | Requires corrosion protection |
| Copper | High end roofing systems | Extremely long lifespan | Higher cost |
| EPDM Rubber | Rubber membrane roofs | Flexible and waterproof | Limited compatibility with some membranes |
| PVC or TPO | Thermoplastic roofing systems | Heat welded seams | Must match membrane material |
Choosing compatible flashing materials ensures the roof system remains watertight and structurally sound.
Protect Your Flat Roof with Proper Flashing Installation
Flashing plays a vital role in protecting flat roofing systems from water intrusion. When installed correctly, flashing seals vulnerable transitions and helps direct water safely away from seams, penetrations, and structural joints.
Ignoring flashing problems can lead to costly roof damage, interior leaks, and structural deterioration. Regular inspections and professional installation help ensure the flashing system continues to perform as intended.
For building owners in Littleton, NC and surrounding areas, professional roofing expertise can make a significant difference in maintaining a reliable roofing system. Kenneth Daniel Roofing provides expert inspections, flashing installation, and comprehensive roofing solutions designed to protect commercial properties for years to come. If you want to ensure your roof remains secure and leak free, contact us today and the Kenneth Daniel Roofing team will be ready to help safeguard your building.
EXPLORE OUR RECENT ARTICLES
We’re Redefining Roofing. You In?
